When your roof leaks, act fast to avoid costly damage. Water can cause mold in 24–48 hours and increase repair costs by up to 50%. Here’s what you need to do:
- Find the Problem: Look for water stains, peeling paint, musty smells, or visible drips inside. Outside, check for missing shingles or sagging areas.
- Act Quickly: Use tarps to cover leaks, clear gutters, and seal small cracks with roof cement. Protect belongings by moving them or covering with plastic.
- Stay Safe: Turn off electricity in affected areas and avoid standing on a damaged roof.
- Call a Pro: For major damage, contact a licensed roofer immediately. Document everything for insurance claims.
Quick Tip: Temporary fixes like tarps and roof cement help minimize damage, but professional repairs are essential for long-term solutions.
What To Do When It’s Raining And You Have A Roof Leak
Finding Roof Problems
Knowing what causes roof damage and spotting it early can save you from hefty repair bills. Here’s a breakdown of common causes, warning signs, and how to assess roof issues effectively.
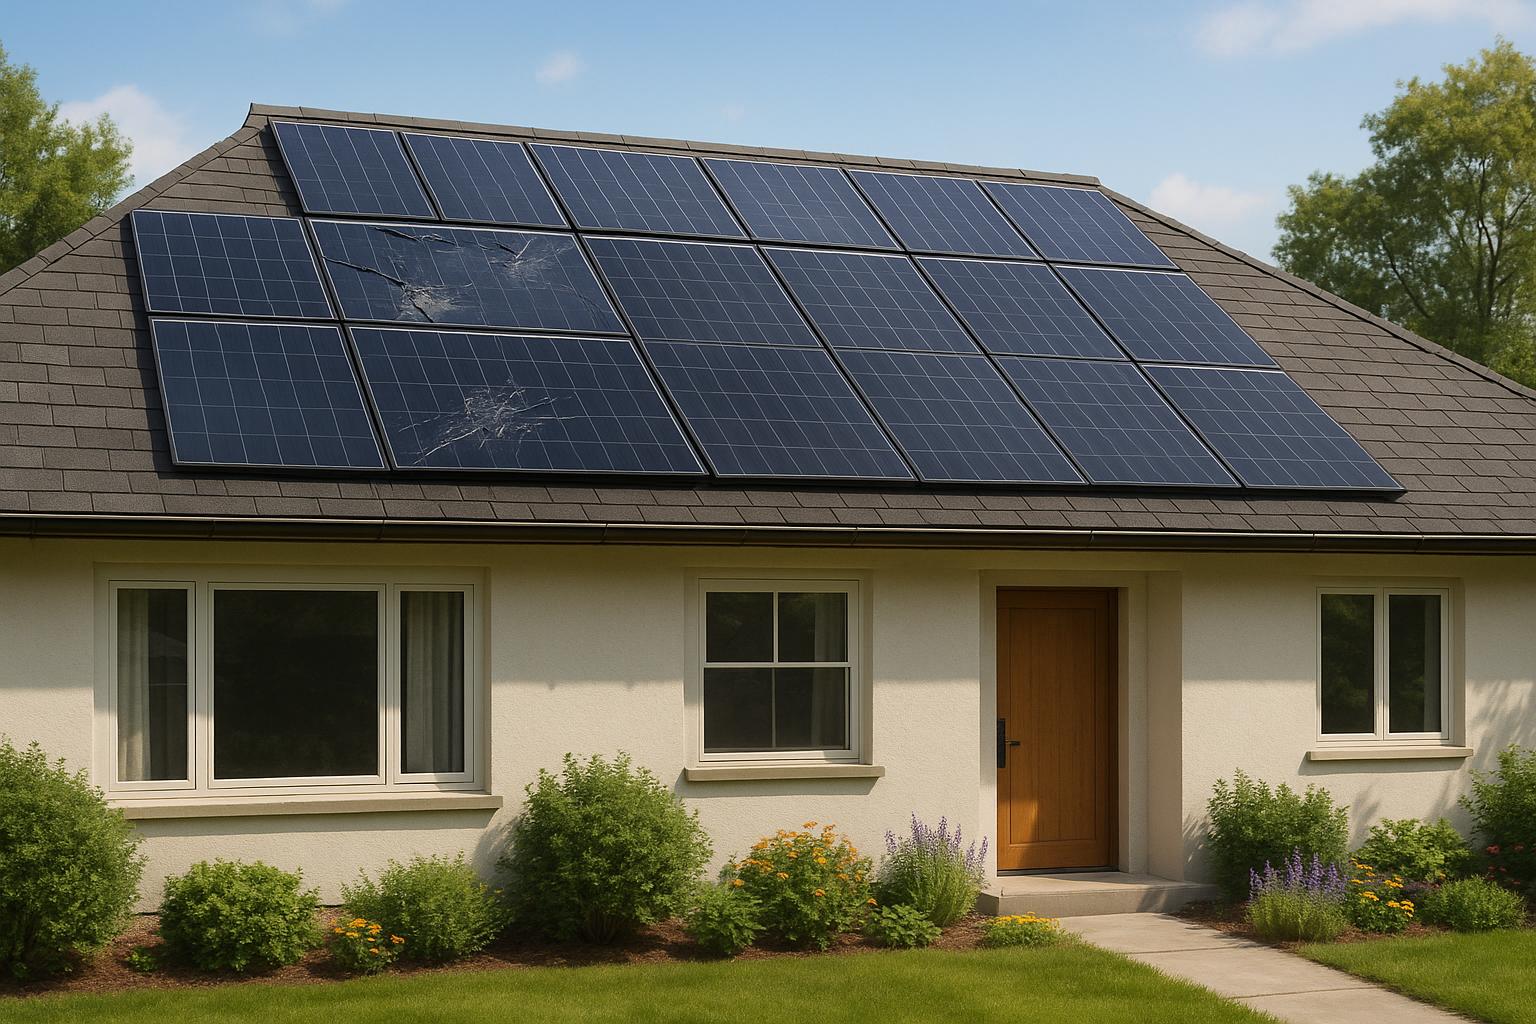
What Damages Roofs
Roof damage often stems from extreme weather, aging materials, poor installation, pests, or neglect. High winds can tear off shingles, heavy rain may lead to leaks, hail can create punctures, and temperature swings cause materials to expand and crack over time.
Warning Signs
Catching issues early can prevent costly water damage. Inside your home, keep an eye out for:
- Water stains on ceilings or walls
- Peeling paint or bubbling wallpaper
- Musty smells, especially in upper rooms
- Visible drips or damp patches
"An annual inspection by a professional roofer is the main ticket."
Checking Damage Level
You can evaluate roof damage using these steps:
-
Ground-Level Check
Use binoculars to inspect the roof from the ground. Look for missing shingles, sagging areas, or other visible issues. -
Attic Inspection
During daylight, check your attic for:- Light shining through the roof
- Dark spots or water stains
- Sagging sheathing
- Damp insulation
-
Professional Help
If you notice multiple red flags or feel unsure about the damage, call a professional roofer. Take photos and document any visible problems – these can be helpful for insurance claims. For major structural concerns, seek expert assistance right away.
Quick Steps to Stop Water
Act fast to address roof leaks and minimize water damage.
Safety First
Before starting repairs, take these precautions:
- Turn off electricity in affected areas to avoid electrical hazards.
- Stay off the roof, especially during bad weather.
- Inspect for structural issues like sagging or cracking sounds. If severe, evacuate immediately.
"Your safety and that of others are the first and most important priority."
Identifying the Leak
Pinpoint where the water is coming from by checking both inside and outside.
Indoor Inspection:
- Use a strong flashlight to spot dark or shiny areas in the attic, especially on trusses or insulation.
- Look for water trails along beams and around vents, exhaust fans, and skylights.
- Listen for drips and note any musty smells that could indicate water damage.
Common Problem Areas:
- Roof valleys and joints
- Chimney flashing
- Exposed nails or screws
- Damaged or missing shingles
"As water moves through your roof and the layers of your attic, it may not flow directly down. In fact, water typically creates a puddle on your attic floor until it finds some way to escape, such as a soffit vent or a light fixture. It’ll pop out where it can, not necessarily directly beneath where it drips through the roof."
Once you locate the source, act quickly to protect your belongings.
Protecting Your Items
Take steps to safeguard your valuables from further damage:
- Set up buckets under active leaks to catch water. For quieter drips, place a small piece of wood in the bucket to guide the water.
- Remove important items like:
- Electronics and electrical devices
- Documents and photos
- Furniture, carpets, and decorative pieces
- For items you can’t move, cover them with heavy-duty plastic sheeting. Secure the covers tightly and, if possible, elevate the items using blocks or risers.
"Your initial response can significantly reduce the long-term impact of a leaking roof. It starts with strategic management, where you contain the water and mitigate further infiltration." – Adam Quenneville Roofing and Siding
sbb-itb-d1d6490
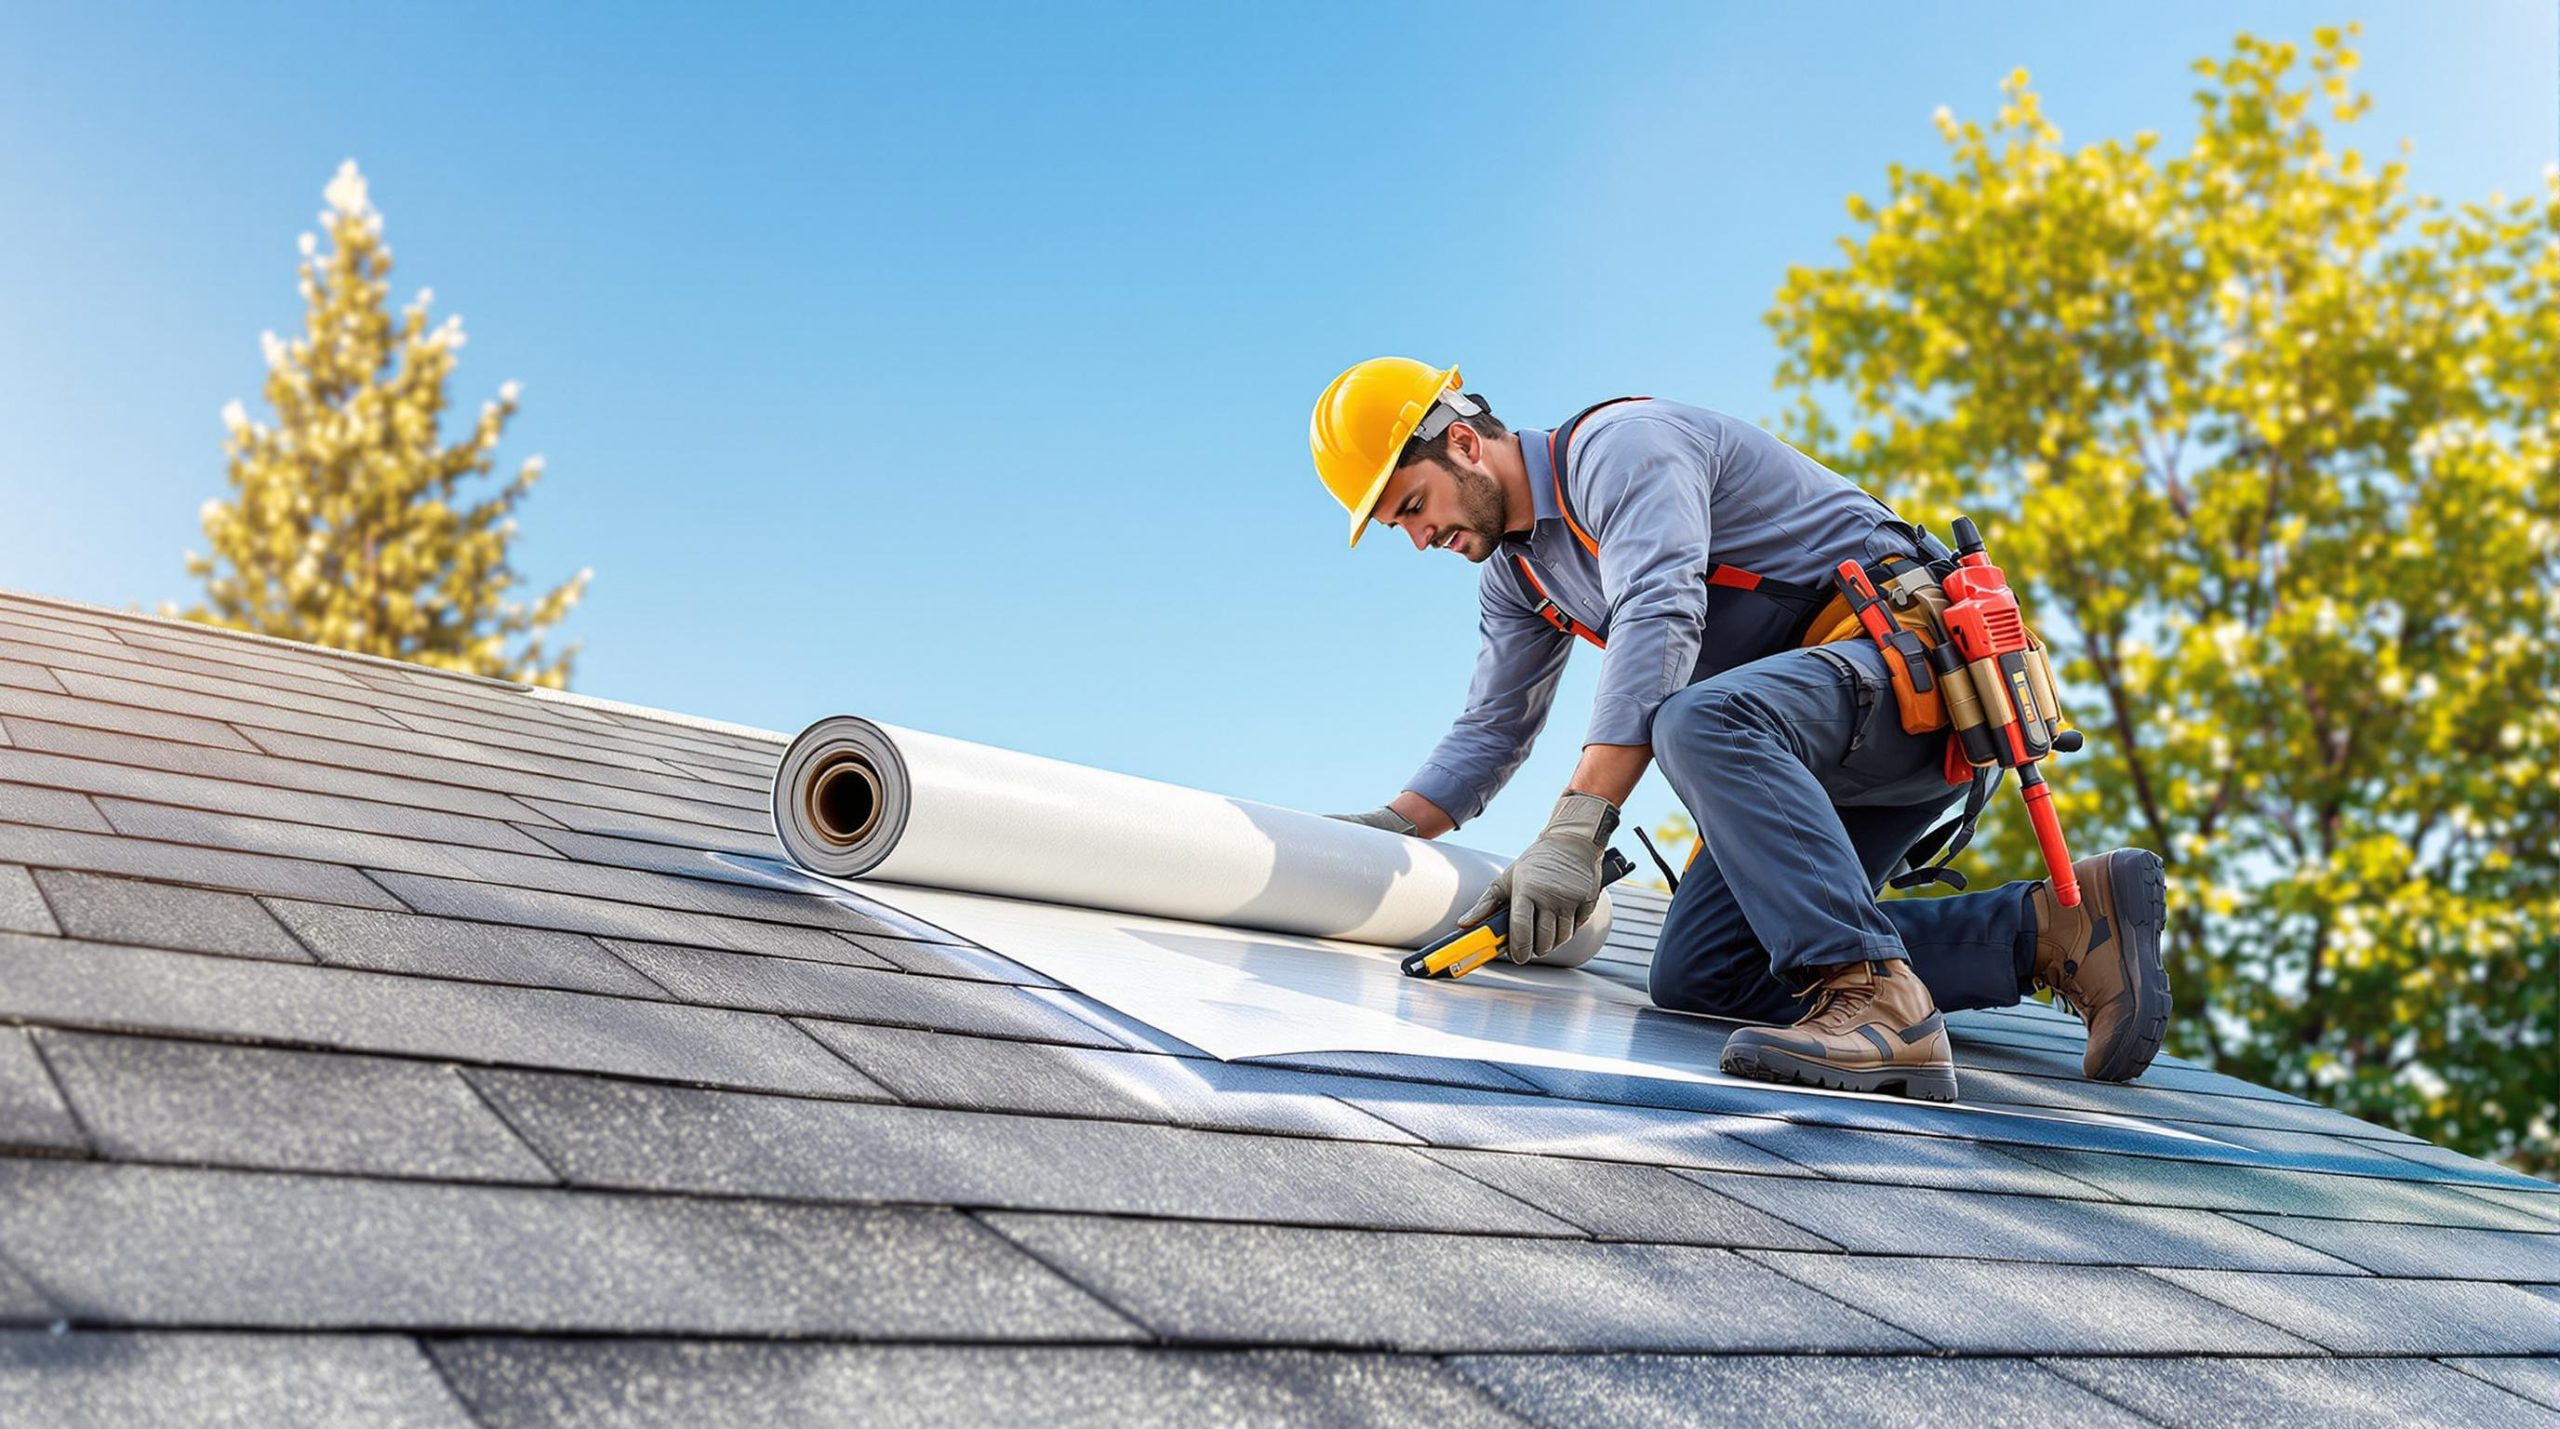
Quick Fix Methods
Tarp Installation Steps
A tarp can help stop water from getting in until permanent roof repairs are done. Here’s how to do it:
- Preparation
Start by clearing away any debris from the damaged area. Measure the section that needs covering and add at least 4 feet of overlap on all sides. Gather these supplies:
- Tarp
- 2×4 lumber
- Roofing nails and a hammer
- Safety gear (harness, non-slip boots, gloves)
- Installation
Begin at the lower part of the roof and move upward. Secure the tarp using one of these methods:
- Sandwich the tarp edges between two 2x4s.
- Use sandbags to hold the tarp in place.
- Install furring strips along the edges of the tarp.
- Securing
Make sure the tarp stays tight to prevent water from pooling. Secure all edges firmly, and address any minor leaks to reduce water intrusion further.
Sealing Small Leaks
Roof cement can temporarily fix small leaks or damaged shingles until professionals can make permanent repairs. Here’s how to apply it:
- Clean and dry the area thoroughly.
- Use a trowel or putty knife to apply roof cement generously.
- Press firmly to ensure complete coverage.
- For larger gaps, add roof patching fabric for extra strength.
- Seal the edges with roof sealant tape for added protection.
"Roof cement is useful for temporary repairs, but it should not replace getting a new roof."
Fixing Water Flow
Managing water flow is crucial for preventing more damage to your roof. Focus on these areas:
Gutter Maintenance:
- Remove leaves, twigs, and other debris from gutters.
- Check downspouts to ensure they’re not blocked.
- Verify that gutters have the right slope (1/4 inch per 10 feet toward downspouts).
Drainage Solutions:
- Direct downspouts so water flows away from the foundation.
- Clear debris from roof valleys to allow proper water drainage.
- Inspect the property for proper drainage and address any standing water immediately.
"Roof tarping is a temporary solution to protect your home from damage. Make sure to get your roof inspected and repaired to avoid additional damage inside your home."
These methods are short-term fixes meant to prevent further damage until professional repairs can be arranged. Regularly check your temporary repairs to make sure they hold up until a permanent solution is in place.
Tools and Materials Needed
Make sure you have the right materials, tools, and safety gear ready for emergency roof repairs.
Materials:
- Heavy-duty waterproof tarps
- Roofing nails (1.5-inch or longer)
- Roofing cement or sealant
- 2×4 lumber to secure tarps
- Replacement shingles that match your roof
Tools:
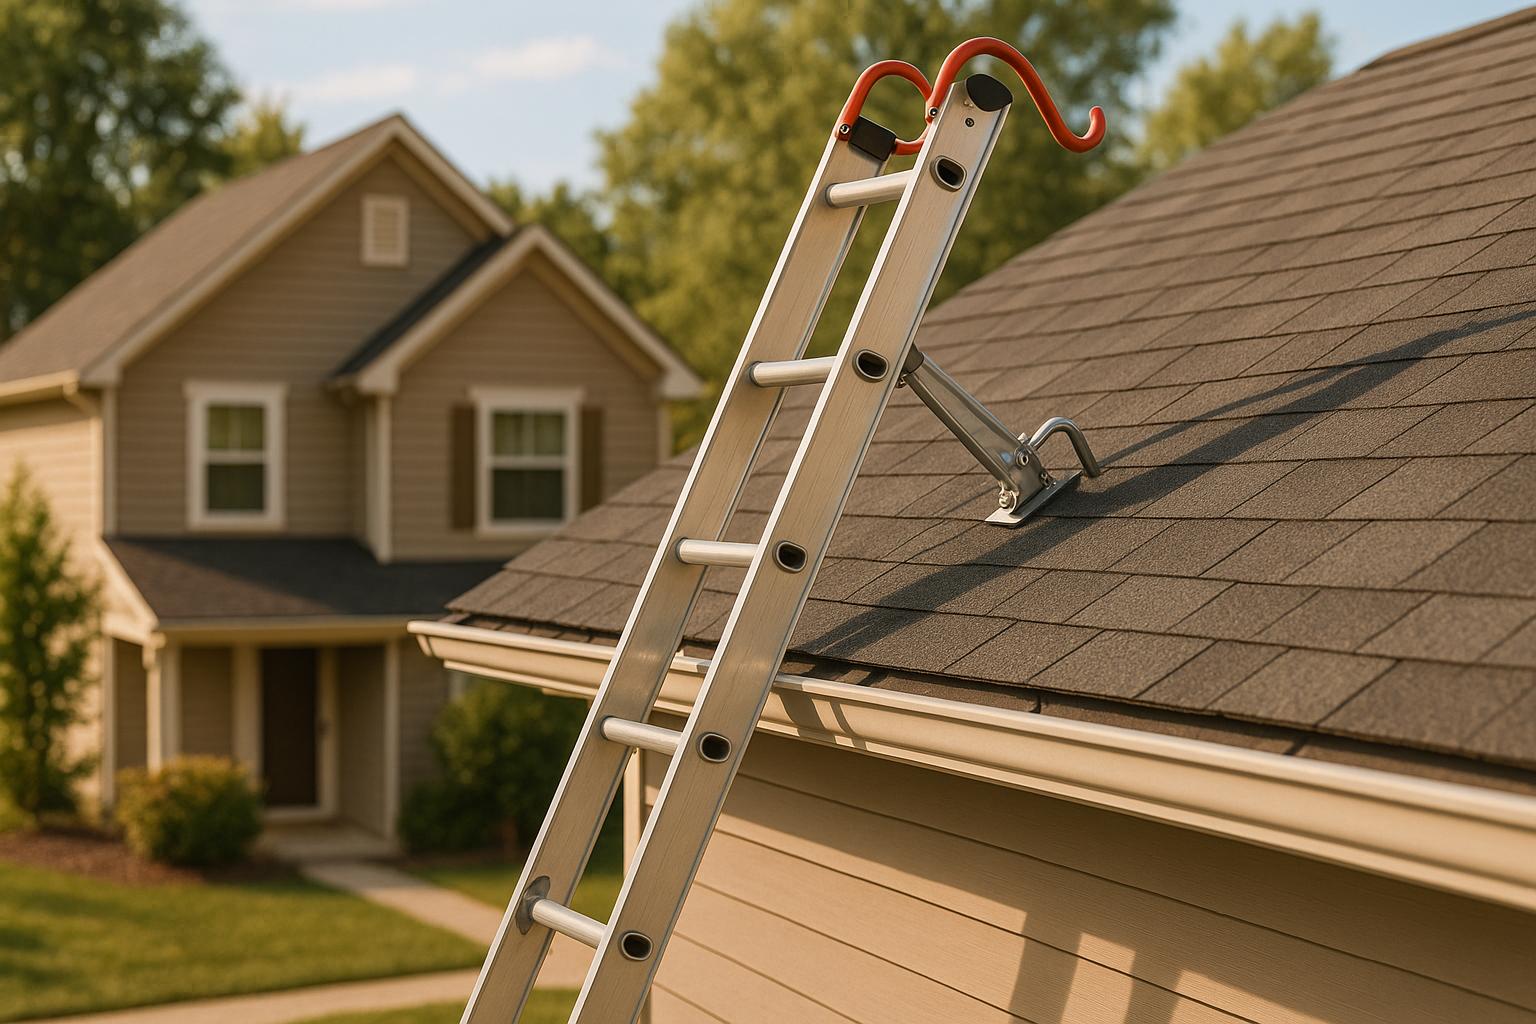
- Extension ladder with a stabilizer bar
- Utility knife with extra blades
- Hammer or nail gun
- Caulk gun
Protective Equipment:
- Hard hat
- Steel-toed, non-slip boots
- Safety glasses
- Work gloves
- Safety harness, especially for steep roofs
Where to Buy Supplies
You can find these supplies at major home improvement stores. Here’s a quick look at some options:
| Store | Key Products | Price Range |
|---|---|---|
| The Home Depot | GAF Timberline HDZ Shingles (33.33 sq. ft.) | $44.97 |
| The Home Depot | Henry 208R Roof Sealant (10.1 oz.) | $7.24 |
| Freedom Supply | 911 Emergency Roof Patch (25 lb.) | $39.99 |
If you’re working in hot climates, remember that light-colored materials reflect heat, while darker ones trap it. Many stores also offer professional installation services with labor warranties if the job feels too big to handle.
Tool Safety Guide
Once you’ve gathered your tools, follow these safety tips to stay protected while working on your roof:
Ladder Safety:
- Position your ladder at a 4:1 ratio (1 foot out for every 4 feet of height).
- Use a fiberglass ladder if working near power lines.
- Anchor the ladder securely at both ends.
- Always maintain three points of contact when climbing.
Material Handling:
- Use a tool belt or a hoist to carry tools instead of climbing with them in your hands.
Professional Help Guide
For extensive roof damage or persistent leaks, it’s best to call a professional roofer.
Signs to Call Experts
Here are some clear indicators that you need a licensed roofer:
- Structural Issues: Sagging roof sections, cracked support beams, or visible damage to your ceiling.
- Major Water Intrusion: Multiple leaks or water affecting electrical systems.
- Storm Damage: Issues like fallen trees, missing shingles over large areas, or hail damage.
- Safety Hazards: Damaged power lines near the roof or unstable structural elements.
Picking a Roofer
When choosing a roofer, make sure to check the following:
| Qualification | Why It Matters | How to Verify |
|---|---|---|
| License & Insurance | Protects you from liability | Request license number and insurance certificates |
| NRCA PROCertification | Reflects industry standards | Check certification status on the NRCA website |
| Local Experience | Familiarity with local weather | Ask for references from nearby projects |
| Warranty Coverage | Ensures workmanship protection | Review the written warranty terms |
Prime American Roofing, a Southern California-based company, offers emergency repair services, free initial inspections, and damage assessments. They focus on quality materials and provide detailed documentation for insurance claims.
Once you’ve chosen a roofer, they will guide you through the repair process.
Professional Repair Process
Here’s what typically happens when professionals step in:
-
Emergency Assessment
The roofer will inspect the damage to locate leaks and assess structural issues. They’ll document everything with photos for insurance purposes. -
Temporary Protection
To prevent further damage, they’ll install temporary tarps or patches immediately. -
Permanent Solution Planning
Next, they’ll:- Provide a detailed written estimate
- Document damage for insurance claims
- Create a timeline for permanent repairs
- Order the necessary materials
During emergencies, roofers focus on addressing critical issues like structural and electrical hazards before moving on to less urgent repairs.
Next Steps
Main Points Review
Water damage can cause mold to develop in as little as 24–48 hours after exposure. Here’s a quick breakdown of the steps you need to take:
| Phase | Key Actions | Action Timeline |
|---|---|---|
| Assessment | Take photos of the damage and identify entry points | Within 1 hour |
| Protection | Use tarps, secure belongings, and stop water entry | Within 2–3 hours |
| Professional Help | Contact emergency services and your insurance company | Same day |
| Prevention | Complete repairs and set up a maintenance plan | Within 1 week |
These actions are crucial. Be sure to also have your emergency kit ready and your contact list updated.
Preparation Tips
Being prepared can make all the difference during an emergency. Start by assembling a repair kit and confirming your emergency contact list.
Emergency Repair Kit Essentials:
- Heavy-duty tarps (at least 6 mil thickness, 2–3 pieces)
- 50 feet of rope or bungee cords
- Rubber sheets and adhesive patches
- Waterproof roofing tape
- Basic tools (utility knife, flashlight, and buckets)
"Regular maintenance checks are a key component of roofing emergency preparedness. By keeping an eye on the condition of your roof and addressing minor issues before they escalate, you can significantly reduce the likelihood of needing emergency roof repairs."
– Ryan’s Roofing
Key Emergency Contacts:
- Direct line for your insurance agent
- Water damage restoration service
- Local building inspector
For commercial properties, take it a step further by creating a response plan and training your team on emergency procedures.
"A sudden roof collapse, leak, or blow-off is a disaster you don’t want to experience. Unfortunately, you might experience such roof emergencies if you don’t prepare for them. Inadequate preparation also leads to more complications and costly damages in case a disaster strikes."
– All American Roofing