When your roof gets damaged in Los Angeles, acting fast is crucial to prevent water leaks, mold, and structural issues. Emergency roof tarping is a temporary solution to protect your home or business until permanent repairs can be made. Here’s a quick overview:
- What You Need: A heavy-duty tarp, 2×4 boards, sandbags, cordless drill, ladder, gloves, and safety gear.
- Steps: Assess the damage, measure the area, secure the tarp with boards and screws, and ensure proper water drainage.
- Cost: DIY tarping costs $150–$350; professional services range from $400–$600.
- Duration: Tarps last up to 90 days; plan for permanent repairs quickly.
- Safety First: Avoid working in bad weather, use protective gear, and call professionals for unsafe conditions.
If you’re unsure about DIY tarping, professional services can handle it safely and help with insurance claims. Protect your property now to avoid bigger problems later.
Basics of Emergency Roof Tarping
What is a Roof Tarp?
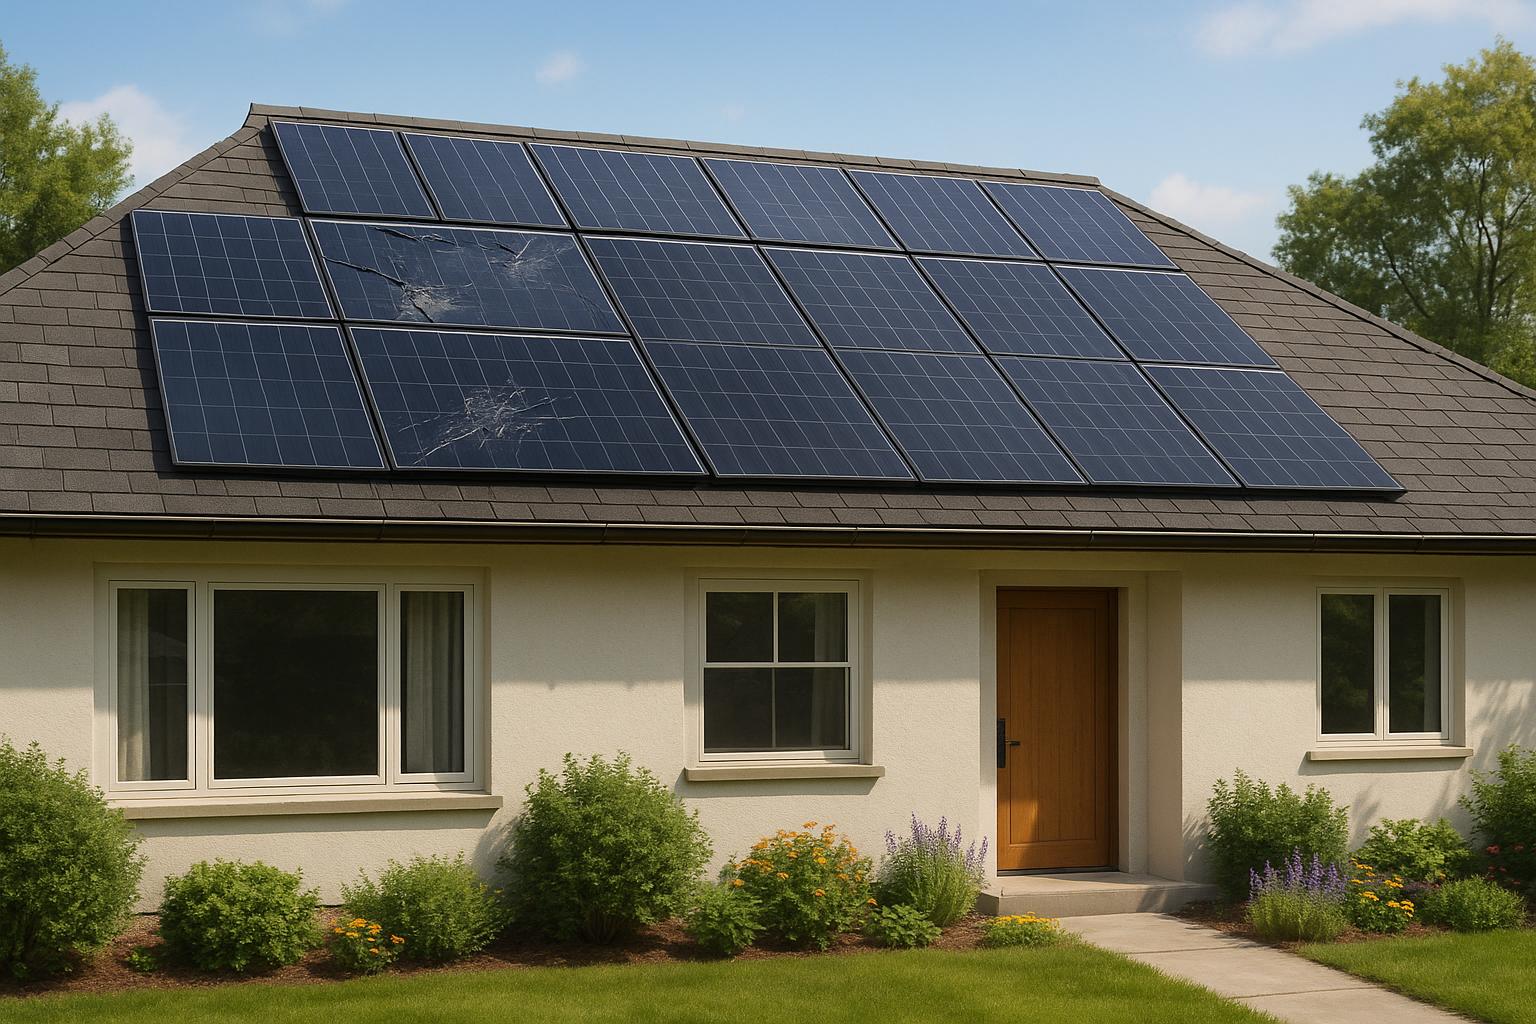
A roof tarp is a durable, large tarpaulin used to temporarily shield a damaged roof. It serves as a short-term solution to block rain, wind, and debris while you wait for permanent repairs. It can also help meet insurance requirements for damage mitigation.
This protective layer is crucial in situations where the roof’s structure has been compromised.
Common Reasons for Tarping
Homeowners in Los Angeles often encounter situations that make emergency roof tarping necessary. Some of the most common reasons include:
- Severe Weather: Intense Santa Ana winds or unexpected heavy rains can loosen shingles or create gaps in your roof. Acting quickly with a tarp can prevent water from seeping into your home.
- Storm Damage: Trees or branches falling during storms can cause significant roof damage.
- Fire Damage: Fires can weaken the roof’s structure, making temporary tarping essential until repairs are made.
- Aging Roofs: Older roofs or those in poor condition may fail suddenly during harsh weather.
Los Angeles’s unpredictable weather, where even brief heavy rains can escalate minor roof issues into major indoor damage, highlights the importance of tarping. Proper installation is critical – professionally installed tarps are more likely to withstand strong winds and heavy rain, keeping your home protected until repairs are completed.
Safety and Equipment Guide
Safety Rules
When installing an emergency roof tarp, safety should always come first. Falls are a leading cause of severe injuries and fatalities during such tasks.
Personal Protective Gear:
- Non-slip work boots with strong traction
- Heavy-duty gloves
- Safety goggles to protect your eyes
- Long-sleeved clothing and pants
- A hard hat for head protection
Key Safety Tips:
- Never work alone – always have someone to assist you.
- Be aware of electrical hazards and maintain a safe distance from power lines.
- Check the roof’s structural stability from the ground before starting.
- Only work in daylight and during safe weather conditions.
Tools and Materials Checklist
To install a roof tarp securely, gather the following tools and materials:
| Category | Items Needed |
|---|---|
| Protection Materials | – Heavy-duty tarp (20% larger than the damaged area) – 2×4 lumber for securing edges – Sandbags for temporary anchoring |
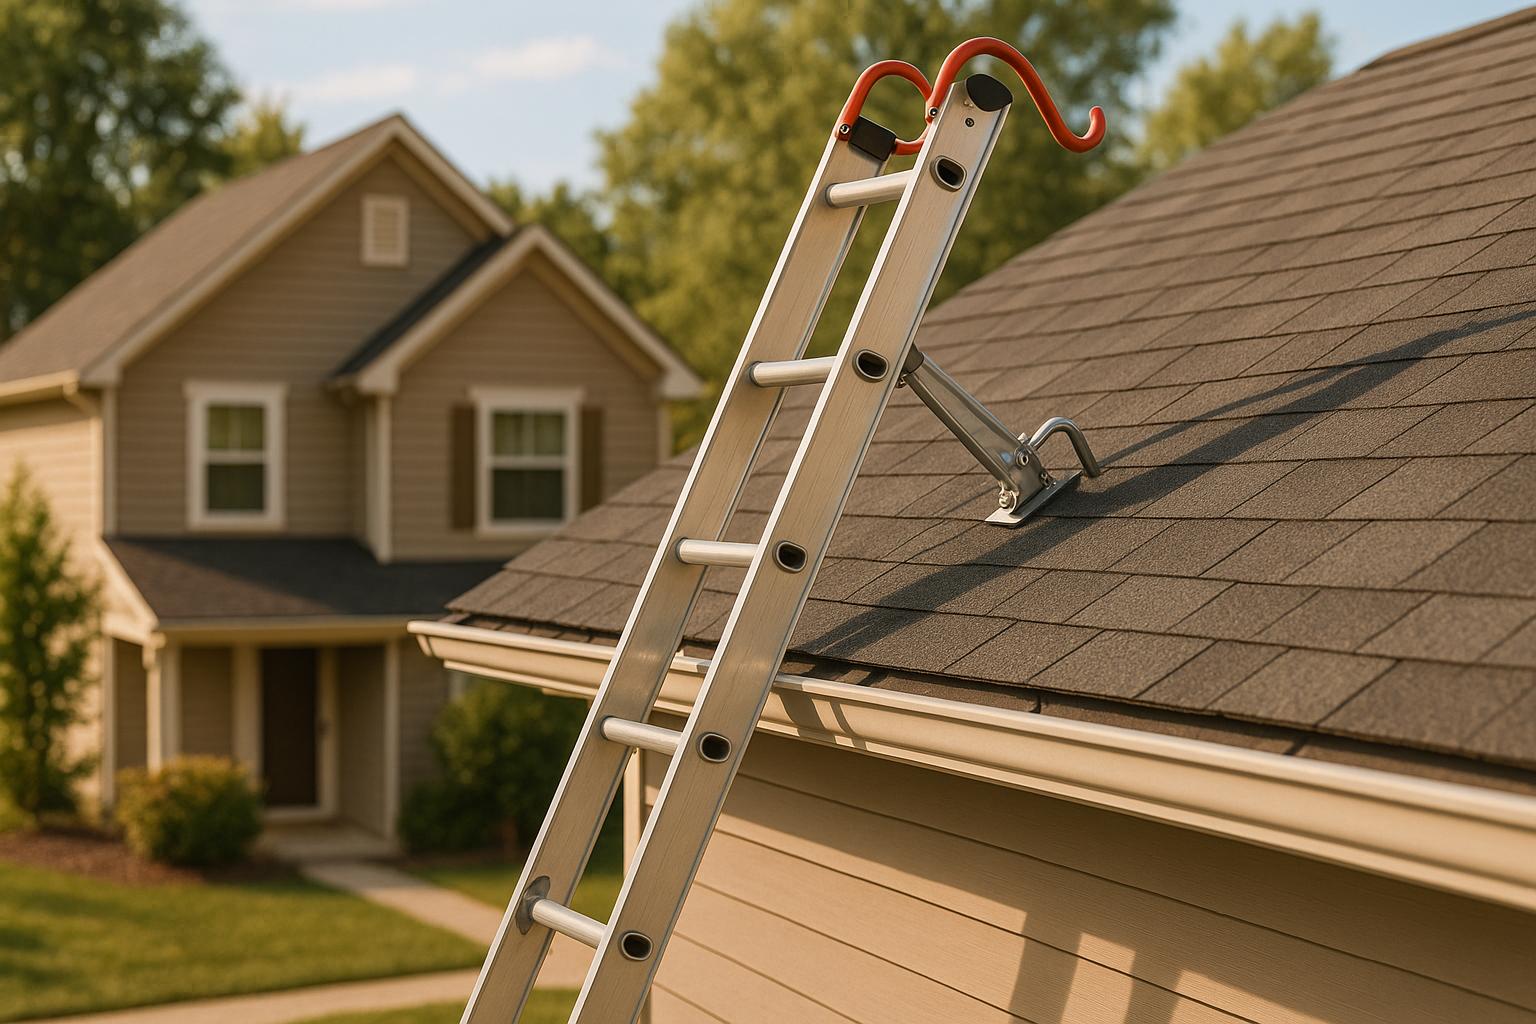
| Installation Tools | – Cordless drill with screw attachments – Hammer and roofing nails – Measuring tape – Utility knife – Extension ladder |
| Clean-up Equipment | – Push broom |
Los Angeles Weather Considerations
The climate in Los Angeles brings specific challenges when it comes to roof tarping:
Wind Challenges:
- Strong winds can loosen your tarp, so make sure it’s tightly secured. Use extra anchor points if necessary.
- Avoid installing the tarp on windy days; choose calm weather for better results.
Rain Protection:
- While Los Angeles averages just 16 inches of rain annually, sudden storms can still cause serious damage.
- Ensure your tarp is large enough to fully cover the damaged area.
Keep in mind that roof tarps in Los Angeles typically last only a few weeks. Plan for permanent repairs as soon as possible. If you’re unsure about completing the installation safely, reach out to a professional roofing service. With the right safety precautions and tools, you can effectively secure your tarp.
Tarp Installation Steps
Check Roof Damage
Safely assess the roof for damage (binoculars can help) by looking for missing shingles, holes, exposed underlayment, water stains, or debris.
"Assessing the damage should be the first step once you realize that you are dealing with a roofing emergency. A roofing company will safely access your roof and inspect it for signs of damage. At this time, they’ll also clear away any debris, branches, or leaves that are on the roof." – Zach Reece
If there’s structural damage or you can’t safely check from the ground, prioritize safety and call a professional. Once you’ve confirmed the damage and ensured safety, move on to setting up the tarp.
Tarp Setup
If it’s safe to proceed, start preparing the tarp:
- Measure the damaged area and add 2–3 feet to each side to ensure proper coverage.
- Position the tarp starting at the bottom edge of the roof and work upward. Keep a slight slope to allow water to drain and center the tarp over the damaged section.
Tarp Attachment Methods
After positioning the tarp, secure it using these steps:
-
Create the Peak Anchor
- Place a 2×4 board at the roof’s peak.
- Roll the tarp’s edge around the board and attach it securely to create a strong anchor.
-
Secure the Sides
- Use 2×4 boards to sandwich the tarp’s edges, fastening them every 12 inches along the sides.
-
Bottom Edge Installation
- Wrap the bottom edge of the tarp around a 2×4 board to prevent water from seeping in.
Make sure the tarp extends several feet beyond the damaged area to reduce the chance of leaks.
Common Attachment Points:
| Location | Method | Purpose |
|---|---|---|
| Peak | Board sandwich with screws | Main anchor point |
| Sides | Boards secured every 4 ft | Side stability |
| Bottom | Double-wrapped board | Water barrier |
| Corners | Extra screws | Wind protection |
Sandbags can be used temporarily but aren’t a long-term solution.
sbb-itb-d1d6490
How To Tarp A Roof | Severe Weather Guide
Professional Tarping Services
When damage goes beyond what you can safely fix yourself, it’s time to call in the pros.
Why Choose Professional Help?
Getting professional roof tarping ensures your roof is secured quickly, prevents further damage, and helps with insurance claims. Here’s a closer look at the advantages:
| Benefit | Description | Impact |
|---|---|---|
| Quick Response | Available 24/7 for emergencies | Reduces water damage and structural risks |
| Expert Assessment | Identifies hidden damage | Avoids future problems from missed issues |
| Insurance Support | Helps with documentation and claims | Makes the claims process smoother |
Tips for Choosing a Roofer
To find a reliable roofing contractor in Los Angeles, check:
- Their license with California’s Contractors State License Board and confirm they have insurance.
- Recent customer reviews on platforms like Google and Yelp.
Roof tarping services generally range from $200 to $1,500, depending on the extent of the work. In California, initial deposits are legally capped at 10% of the total cost or $1,000, whichever is lower.
"Working in a professional and responsible team is essential for delivering high-quality roofing services. Collaboration ensures that each aspect of the project, from initial assessment to final installation, is executed with precision and expertise." – Tony Mirzakhanyan, Head of Prime American Roofing
These steps will help you secure a skilled and trustworthy local roofer.
Prime American Roofing Services

For dependable, fast service in Los Angeles, Prime American Roofing is a top choice.
They offer free inspections, 24/7 emergency response, durable tarps, thorough damage documentation, and follow-up repair options. Their local presence ensures quicker response times – especially critical given Los Angeles’s unpredictable weather.
After the Tarp
Tarp Time Limits
Emergency roof tarps are a short-term solution. When installed correctly, a tarp can protect your home for about 90 days. Heavy-duty tarps may last longer, but experts recommend removing them within three months.
Several factors influence how long a tarp will last:
| Factor | Effect on Tarp Lifespan |
|---|---|
| Material Quality | Tarps with UV protection hold up better |
| Installation Method | Professional installation ensures durability |
| Weather Exposure | Intense sunlight in Los Angeles can weaken materials faster |
| Damage Severity | Large or severe damage may reduce effectiveness |
Once your tarp is in place and you understand its limitations, it’s time to focus on permanent repairs.
Getting Permanent Repairs
After securing your roof with a tarp, reach out to a qualified roofing contractor as soon as possible. They can provide a professional assessment and create a detailed repair plan. In Los Angeles, the average cost for a full roof replacement is about $9,150.
When choosing a contractor, look for someone familiar with local weather conditions, experienced with insurance claims, and able to provide thorough written estimates. Proper documentation of all damage is also essential.
With repairs in progress, managing your insurance claim efficiently becomes the next priority.
Insurance Claim Tips
Filing your insurance claim correctly can maximize your reimbursement. For reference, the average wind and hail claim pays approximately $13,000.
"If you are unsure if you have damage, sometimes it is best to ask a contractor to come assess the situation before you open up a claim on your homeowners insurance. Some insurance companies will count the claim against you, and if you do not have any damage, you do not want the open claim. Make sure you hire an honest contractor whom you trust for this assessment." – Ami Feller, Expert Review Board member and owner of Roofer Chicks in New Braunfels, TX
Follow these steps to strengthen your claim:
- Take detailed photos of all damage
- Keep receipts for any temporary repairs
- File your claim as soon as possible
- Get multiple repair estimates
- Maintain a record of all communication with your insurer
Most insurance companies process claims within 30–60 days. Remember, your insurer cannot require you to use a specific contractor. It’s often helpful to have your chosen contractor present during the insurance adjuster’s inspection to ensure all damage is accounted for.
Summary
If you’re in Los Angeles and need emergency roof tarping, careful planning is essential. A properly installed tarp can protect your home temporarily – usually for up to 90 days – while you arrange for permanent repairs. DIY tarping typically costs between $150 and $350, while professional installation ranges from $400 to $600.
Here are some key points to keep in mind about emergency roof tarping:
| Aspect | Key Consideration |
|---|---|
| Safety First | Avoid attempting tarping during storms or on roofs that are unstable. |
| Coverage | Ensure the tarp overlaps by at least 3 feet on all sides of the damaged area. |
| Duration | Plan to replace the tarp within 90 days. |
| Weather Impact | The intense Los Angeles sun can cause tarps to wear out faster. |
| Insurance | Take photos of all damage before tarping to support any insurance claims. |
If DIY solutions aren’t enough, Prime American Roofing provides emergency repair services across Southern California. Their team is known for quick responses and detailed damage assessments to help minimize further issues.