Ridge Vent Installation Importance
Ridge ventilation keeps your roof healthy and efficient. A proper ridge vent installation protects your roof and helps it last longer.
Ridge ventilation creates airflow through your roof in these key ways:
-
Improved Attic Ventilation: Fresh air moves through your attic space, preventing heat buildup that makes your home too warm.
-
Prevention of Moisture Buildup: Air circulation stops moisture from collecting in your attic. This protects against mold growth and prevents damage to your roof materials.
-
Enhanced Energy Efficiency: When air flows properly through your attic, your home stays cooler. Your AC runs less often, which cuts your energy costs.
Your roof needs good ventilation to work right. Poor airflow leads to roof damage, high energy bills, and potential health issues from trapped moisture and heat.
Necessary Tools and Materials
Getting ready for ridge vent installation? Here’s a quick rundown of tools and materials you’ll need to have on hand.
Tools:
- Circular Saw: Essential for cutting through the roof deck to create an opening for the ridge vent.
- Hammer: Used to secure nails and ensure the ridge vent is tightly fastened.
- Utility Knife: Handy for trimming shingles and cutting through any existing underlayment.
- Roofing Nails: These will secure the ridge vent and shingles in place.
- Pry Bar: Helps in removing old shingles or debris to clear the area for the vent.
- Asphalt Plastic Cement: Seals edges and nails to prevent water from seeping in.
Materials:
- Ridge Vents: The main component, allowing airflow through your attic. For more detailed guidance on ridge vent installation, you can explore our comprehensive guide to metal roof ridge vents.
- Shingles: You’ll need these to cover the ridge vent for a seamless look and added protection.
Each tool and material plays a crucial role in making sure your ridge vent is installed effectively. The circular saw and utility knife prepare the space, while the hammer and nails ensure everything stays where it should. Asphalt plastic cement seals the deal, keeping moisture at bay. Proper preparation with these tools and materials sets the stage for a successful installation.
Preparation Steps Before Installation
Preparation is key for a successful ridge vent installation. Before getting started, inspect the ridge area thoroughly. Check for any damage or irregularities that might interfere with the installation.
Remove any existing ridge cap shingles. This step is crucial to create a clean surface for the new ridge vent. Use a pry bar to carefully lift and remove the shingles, ensuring the area is free from old materials.
Clear the roof of any debris. This includes leaves, branches, and anything else that might obstruct your work. A clean work environment helps prevent accidents and ensures a smooth installation process.
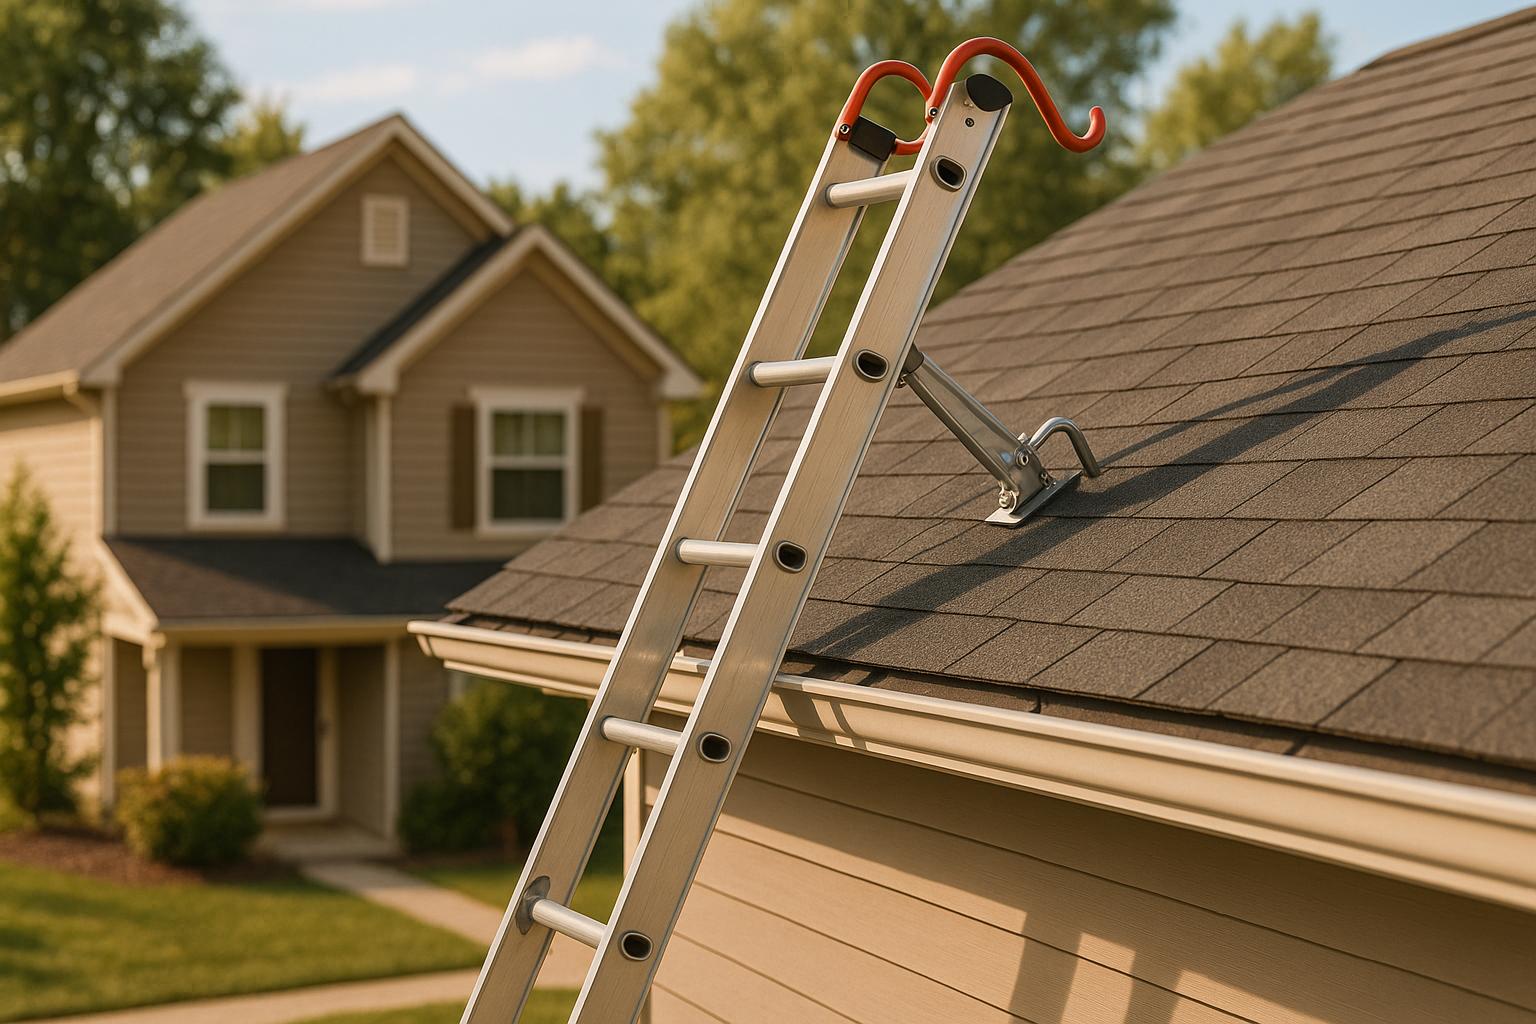
Safety is paramount. Here’s a checklist of safety precautions to follow:
-
Wear Fall-Arresting Equipment: Ensure you’re using proper safety gear like harnesses and helmets.
-
Work with a Partner: Having someone to assist can prevent accidents and make handling materials easier.
-
Use Ladders Safely: Double-check that ladders are stable and properly positioned.
-
Break Work into Segments: Don’t rush. Tackle the project in manageable parts to avoid fatigue and mistakes.
-
Familiarize with Roof Safety Practices: Understand how to move safely on the roof to prevent slips and falls. For more detailed guidance on maintaining roof safety and preventing leaks, consider exploring our insights on fixing roof vent leaks during heavy rain, which provides valuable tips on maintenance and repair.
By following these steps, you’ll set the stage for a smooth and effective ridge vent installation. Safety and preparation go hand in hand for the best results.

Step-by-Step Installation Guide
Ready to install your ridge vent? Follow these steps for a perfect finish.
-
Remove Ridge Cap Shingles: Start by carefully taking off the old ridge cap shingles. Use a pry bar to lift them, making sure you don’t damage the underlying roof.
-
Cut Roof Decking: Once the shingles are off, it’s time to cut the roof decking. Use a circular saw to create an opening along the ridge. Aim for at least a 1-inch clearance on either side of the ridge board to ensure proper airflow.
-
Install Ridge Vent: Position the ridge vent over the opening. Align it according to the manufacturer’s instructions to ensure a snug fit. Secure it with roofing nails, spacing them evenly along the vent. For more detailed insights on metal roof ridge vents and the best options available, explore our comprehensive guide on metal roof ridge vents.
-
Seal with Roofing Caulking: Apply roofing caulking along the edges of the ridge vent. This step is crucial for sealing the vent and preventing water infiltration.
-
Attach Ridge Cap Shingles: Cover the vent with new ridge cap shingles. Start from one end, overlapping them as you go. Nail them securely, making sure they cover the vent and blend with the existing roof.
-
Inspect and Adjust: Once everything’s in place, inspect your work. Make sure there are no gaps or loose nails. Adjust as necessary to ensure a tight, weatherproof seal.
Accuracy is vital in each step. Proper installation guarantees that your ridge vent performs effectively, enhancing your home’s ventilation and energy efficiency. Following manufacturer guidelines not only ensures a perfect fit but also boosts the longevity and durability of your roofing system.
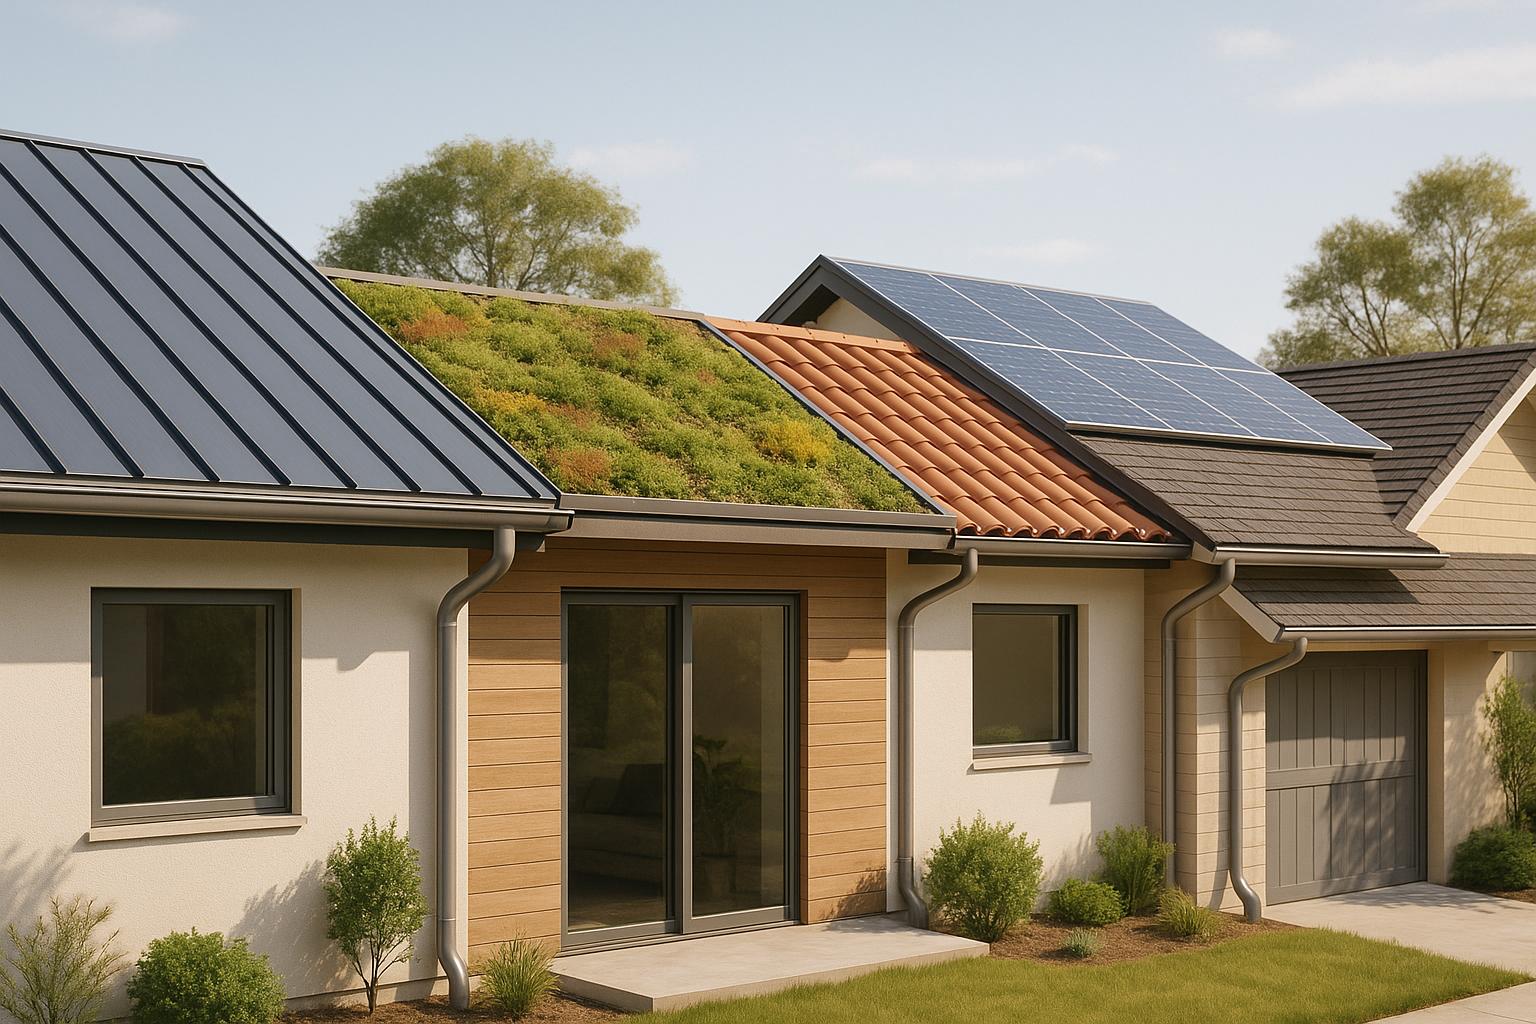
Different Types of Ridge Vents
Ridge vents come in a variety of designs, each with its own set of benefits and considerations. Two popular types are shingle-over ridge vents and aluminum ridge vents.
Shingle-Over Ridge Vents: These vents are designed to blend seamlessly with your roof’s shingles. They offer a low-profile appearance, making them an excellent choice for homeowners who prioritize aesthetics. Since they are covered with matching shingles, they provide a uniform look that complements most roofing styles. However, installation requires additional shingles, which could increase the initial cost. For more detailed information about different roofing materials and techniques, you can explore our General Archives which cover a wide range of roofing topics.
Aluminum Ridge Vents: Known for their durability, aluminum ridge vents have a more pronounced profile with a visible metal finish. They don’t require additional shingle covering, which can simplify installation. While they are robust and long-lasting, their metallic appearance might not suit every homeowner’s taste. They are ideal for those prioritizing longevity and functionality over a seamless look.
Comparison Table of Ridge Vent Types
| Feature | Shingle-Over Ridge Vents | Aluminum Ridge Vents |
|---|---|---|
| Aesthetic Appeal: | Blends with roof shingles | Visible metal finish |
| Installation: | Requires extra shingles | No additional covering needed |
| Durability: | Good, depends on shingle quality | High, inherently durable |
| Cost: | Higher due to extra shingles | Moderate |
When selecting a ridge vent, consider your roof material and your aesthetic preferences. Shingle-over vents are favored for their hidden appearance, while aluminum vents serve those seeking durability. Think about your priorities—whether it’s visual appeal or longevity—and choose accordingly. For further insights and tips specifically tailored for residential roofing, you might find our article on Essential Insights and Tips for Residential Roofers particularly useful.
Proper Ventilation Balance
Achieving a balanced ventilation system is key for an efficient attic. This balance between intake and exhaust vents keeps your home comfy and your roof in top shape. Here’s how to get it right.
First, calculate your attic’s ventilation needs. This depends on factors like attic floor area and roof slope. The goal is achieving proper Net Free Area (NFA), which is the vent space that allows air to flow freely.
-
Calculate NFA Requirements: Start with the attic floor area. For every 300 square feet of attic space, aim for 1 square foot of NFA. Split this between intake and exhaust vents for balance.
-
Assess Roof Slope: Steeper roofs might need more ventilation. Adjust your NFA calculations to accommodate unique roof slopes.
-
Combine Vent Types: Use ridge vents with soffit vents. Soffit vents act as intake vents, working with ridge vents to create a consistent flow of air through the attic.
-
Check Local Codes: Regulations might dictate specific vent ratios. Ensure your setup complies with these to avoid issues.
Proper balance keeps your attic ventilated, reduces heat buildup, and prevents moisture problems. Using these tips ensures your home stays efficient and your roof lasts longer. For more detailed guidance on ensuring your roofing system is correctly installed, you might find our step-by-step guide to commercial roof installation particularly useful.

Ridge Vent Installation: Key Takeaways and Final Thoughts
Ridge vents are a game-changer for your home’s roofing system. They boost attic ventilation, prevent moisture buildup, and enhance energy efficiency. Proper installation involves using the right tools and materials, like circular saws, roofing nails, and ridge vents themselves. Each step, from removing old shingles to sealing with roofing caulking, ensures a snug fit and optimal performance.
Good ventilation balance is crucial. It keeps your home comfy and your roof in excellent shape. Don’t forget the importance of calculating the Net Free Area and using a mix of vent types for the best airflow.
-
Boosts Ventilation: Ridge vents improve air circulation in your attic, cutting down on heat and moisture.
-
Prevents Damage: Proper airflow helps avoid mold growth and roof material damage.
-
Saves Energy: Efficient ventilation means your AC works less, saving on energy bills.
-
Essential Tools: Equip yourself with circular saws, roofing nails, and asphalt plastic cement for a smooth installation.
-
Follow Safety Steps: Use fall-arresting equipment and work with a partner for safety.
Thinking about enhancing your home’s roofing with ridge vents? It’s a smart move for long-term health and efficiency. Want to know more about how we can help with your roofing needs? Get a free quote by filling out our contact form. We’re here to ensure your home stays protected and efficient.