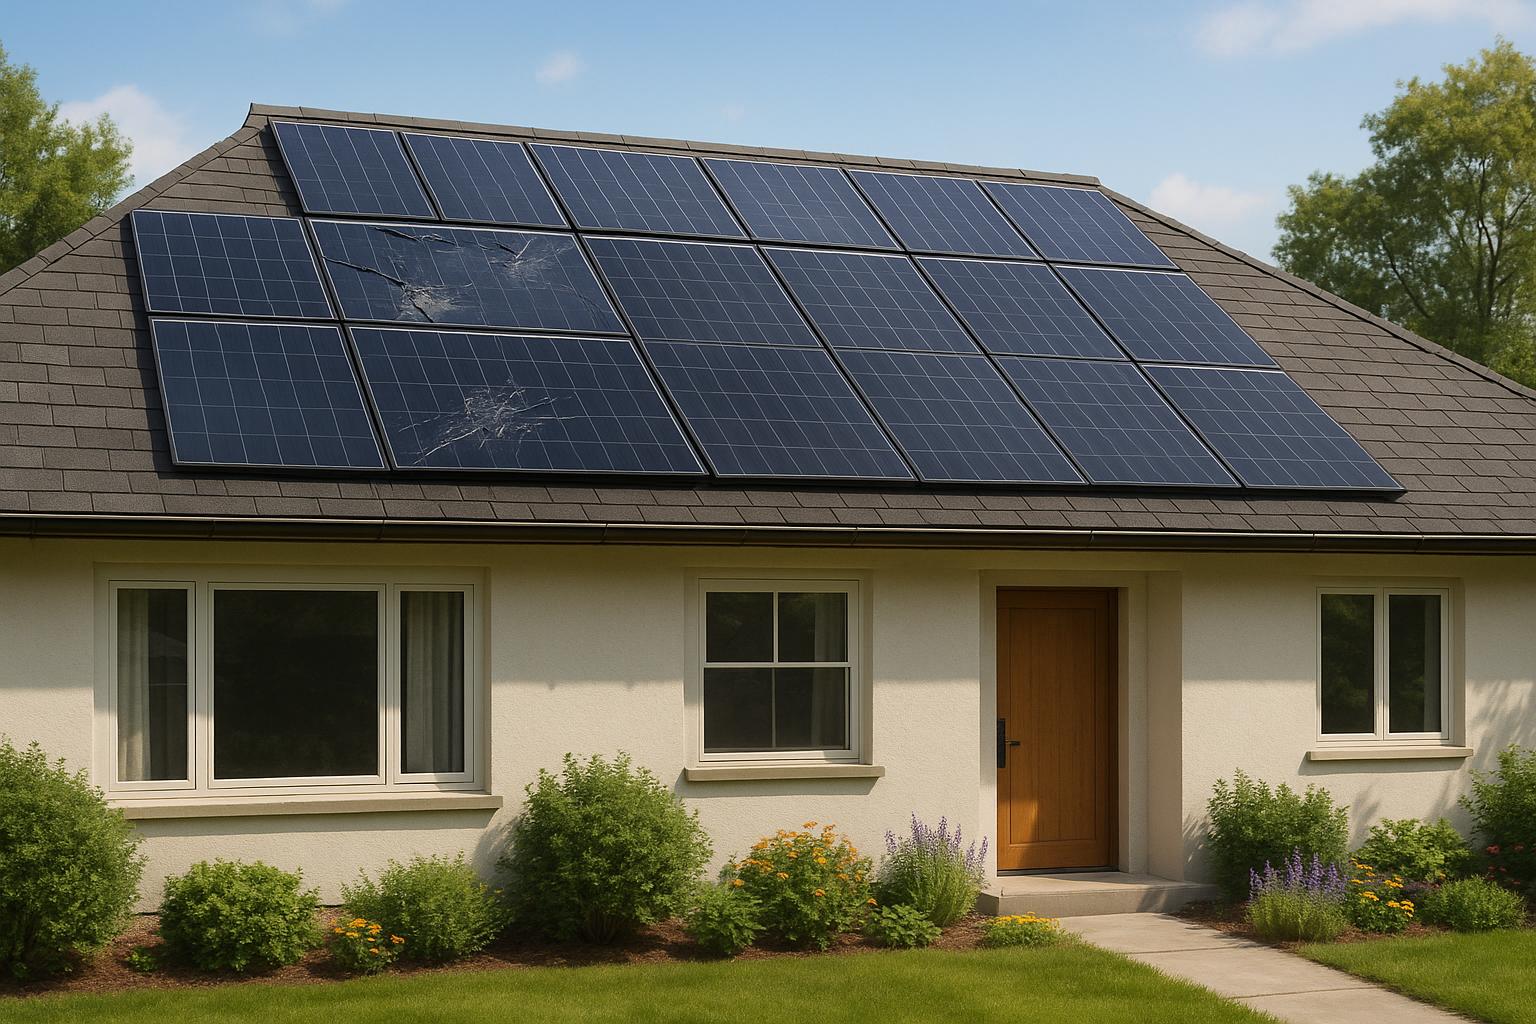
Why Roof Ventilation Matters
Proper roof ventilation is crucial for maintaining a healthy and efficient home or building. It helps reduce heat and moisture buildup, which can lead to various problems if left unchecked. With good ventilation, you can enhance energy efficiency, prevent leaks, and avoid mold growth. It also prolongs the lifespan of your roof, saving you money in the long run.
Ventilation is a cost-effective solution that can often be tackled as a DIY project. This makes it accessible for those looking to improve their property’s ventilation on their own. Whether you’re a construction firm or a homeowner, understanding the benefits of roof ventilation is key to protecting your investment.
Why consider roof ventilation?
- Energy Efficiency: Lower your energy costs by reducing your HVAC workload.
- Moisture Control: Prevent moisture buildup that leads to mold and structural damage.
- Prolonged Roof Life: Extend the longevity of your roofing materials by minimizing heat stress.
- Leak Prevention: Reduce the risk of leaks by maintaining optimal moisture levels.
Our article will guide you step-by-step through the installation process, offering practical tips and insights. With this knowledge, you’ll be equipped to enhance your roof’s performance and keep your property safe and sound.
Assessing Your Ventilation Needs
Determining your roof ventilation needs isn’t complicated, but it requires some thought. Start by looking at your attic size and roof slope. These two factors will guide you in deciding the type and number of vents you’ll need.
To make sure your ventilation system is effective, it’s crucial to balance intake and exhaust. Intake vents, like soffit vents, bring in fresh air, while exhaust vents, such as ridge vents, let out stale air. A good balance keeps the airflow smooth and even.
Here’s a simple way to plan:
-
Measure Your Attic: Find the square footage of your attic. This helps in calculating the number of vents needed.
-
Consider Roof Slope: Steeper roofs may need different vent types or placements.
-
Plan Vent Placement: Avoid rafters and wires. From inside the attic, mark potential spots with a nail or large screw.
-
Check Soffit Vents: Make sure they’re present and in good condition for optimal airflow.
-
Ensure Compatibility: If you’re installing ridge vents, check that they work with your ridge cap shingles. For more detailed guidance on installing and maintaining ridge vents, refer to our comprehensive guides on metal roof ridge vents.
Proper planning helps ensure your new ventilation system works efficiently and integrates well with your existing roof structure. This preparation will save you time and maximize your roof’s performance.
Choosing the Right Vent Type
Choosing the right roof vent type is essential for effective ventilation. Each type has its own advantages and ideal uses, so understanding them can help you make the best choice for your building needs.
Intake Options:
-
Soffit Vents: These are installed under the eaves of your roof. They allow cool air to enter the attic, which helps push out hot air through exhaust vents. They’re great for ensuring a steady airflow and are often used in conjunction with ridge vents.
-
Drip Edge Vents: These are installed at the roof edge. They help in both ventilating and protecting the roof edge from water damage. Ideal for homes without enough soffit space. For more insights on how these vents can prevent roof edge water damage, explore our blog post about understanding drip edges.
Exhaust Options:
-
Ridge Vents: Positioned along the roof peak, they provide continuous airflow. They’re discreet and blend well with the roofline, making them a popular choice for many homes. To learn about the best metal roof vent options, including ridge vents, visit our comprehensive guide on metal roof ridge vents.
-
Static Vents: These fixed vents offer passive ventilation. They don’t move or rely on power, making them a low-maintenance option.
-
Gable Vents: Installed on exterior walls at the gable ends, these vents allow hot air to escape. They’re effective but might not provide enough ventilation alone.
-
Turbine Vents: These vents spin with the wind to help expel hot air. They’re more effective in windy areas but can be less reliable in calm weather.
-
Powered Vents: These use electricity to actively remove hot air. They’re efficient but require a power source and can add to energy costs.
Each vent type suits different roof designs and climate conditions. Consider factors like roof shape, local climate, and budget when choosing. Proper selection ensures your roof’s ventilation system works efficiently, enhancing your property’s comfort and lifespan.
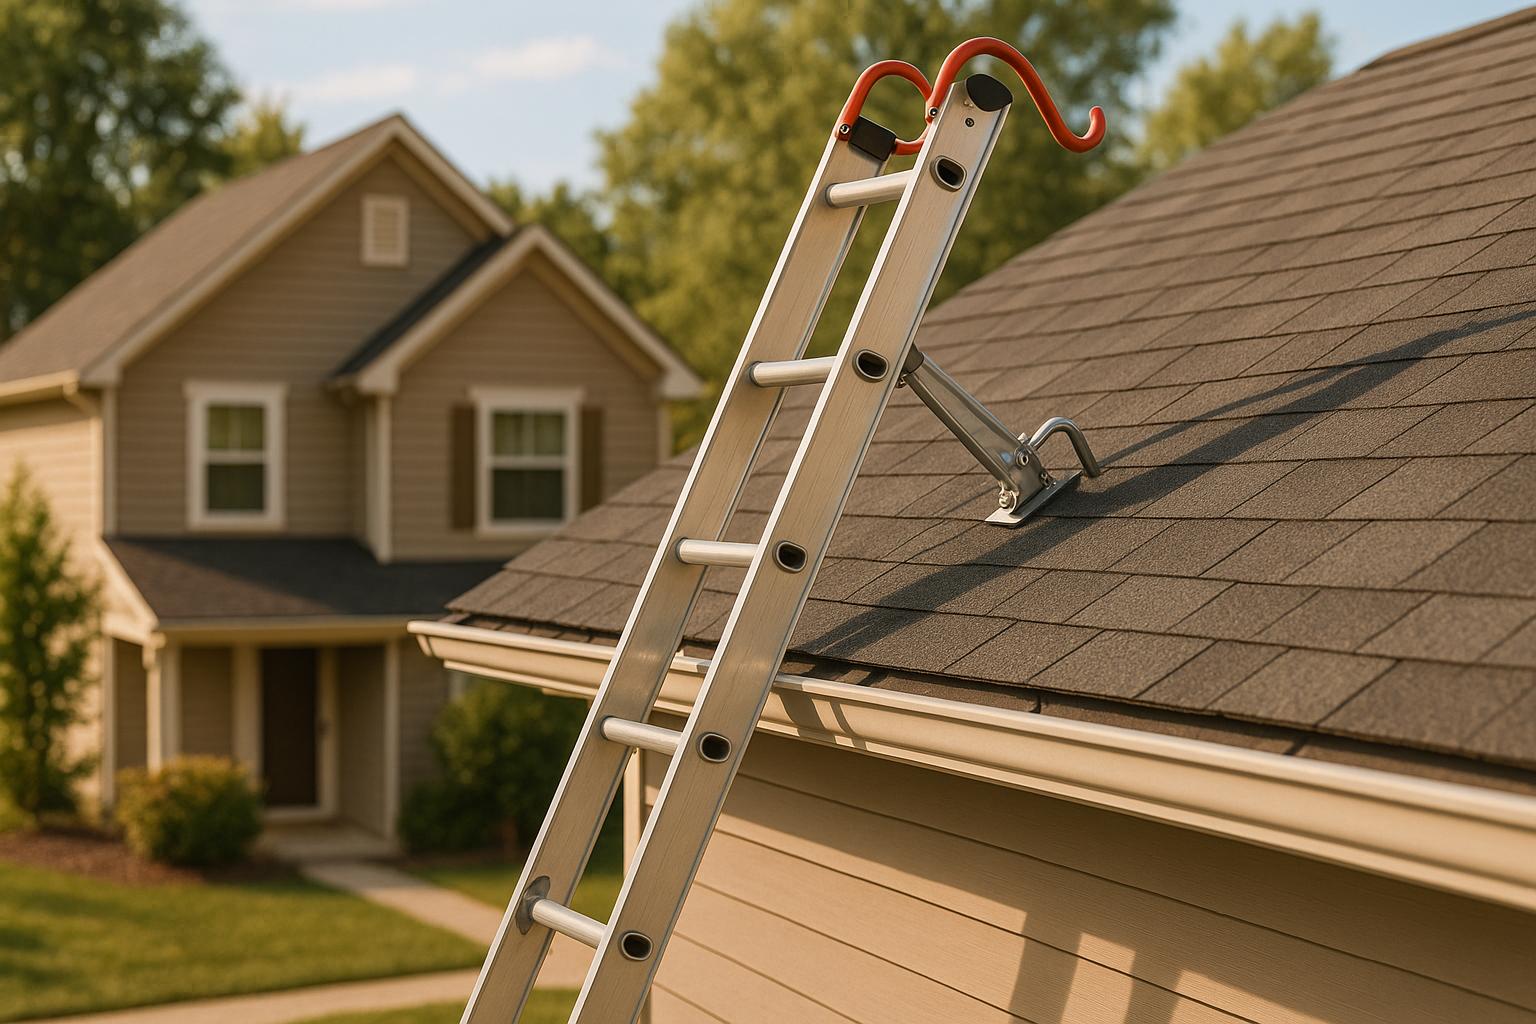
Preparing for Vent Installation
Getting ready for vent installation? Here’s how to set things up smoothly.
First, mark the vent spots from inside the attic. Use a nail or a large screw to pinpoint areas between rafters and steer clear of any wires. This step is crucial for easy identification when you start cutting or drilling on the roof.
Next, check for existing soffit vents to ensure a balanced airflow system. Proper intake and exhaust ventilation is key to efficient roof performance. If soffit vents are absent or damaged, plan to install or repair them before proceeding.
Gathering the right tools and materials is your next move. You’ll need a power drill, a jigsaw or circular saw, a pry bar, and roofing nails. Depending on your vent type, you might also need roofing tar, caulk, or a specific roof vent model. Don’t forget protective gear like goggles.
Plan your installation carefully to avoid common mistakes. Here’s a quick checklist to keep you on track:
-
Double-Check Measurements: Ensure accuracy in your attic measurements to avoid cutting errors.
-
Review Weather Conditions: Choose a clear day for installation to prevent moisture issues.
-
Organize Tools and Materials: Have everything you need on hand to avoid interruptions.
-
Follow Safety Guidelines: Use ladders and tools safely to prevent accidents.
-
Read Vent Instructions: Each vent type may have specific installation needs; always check the manual.
For more detailed guidance on preventing issues like roof vent leaks during heavy rain, consider exploring our article on how to fix roof vent leaks, which offers insights into common causes and effective solutions.
By following these steps, you’re set for a successful vent installation that enhances your roof’s ventilation.
Installing Roof Vents
Installing roof vents is a task that requires precision and careful planning. Here’s how you can do it step-by-step:
-
Mark the Vent Spot: Start inside the attic. Identify the ideal spot for your vent, ensuring it’s between rafters. Use a nail or a large screw to mark this spot, making it easy to find once you’re on the roof.
-
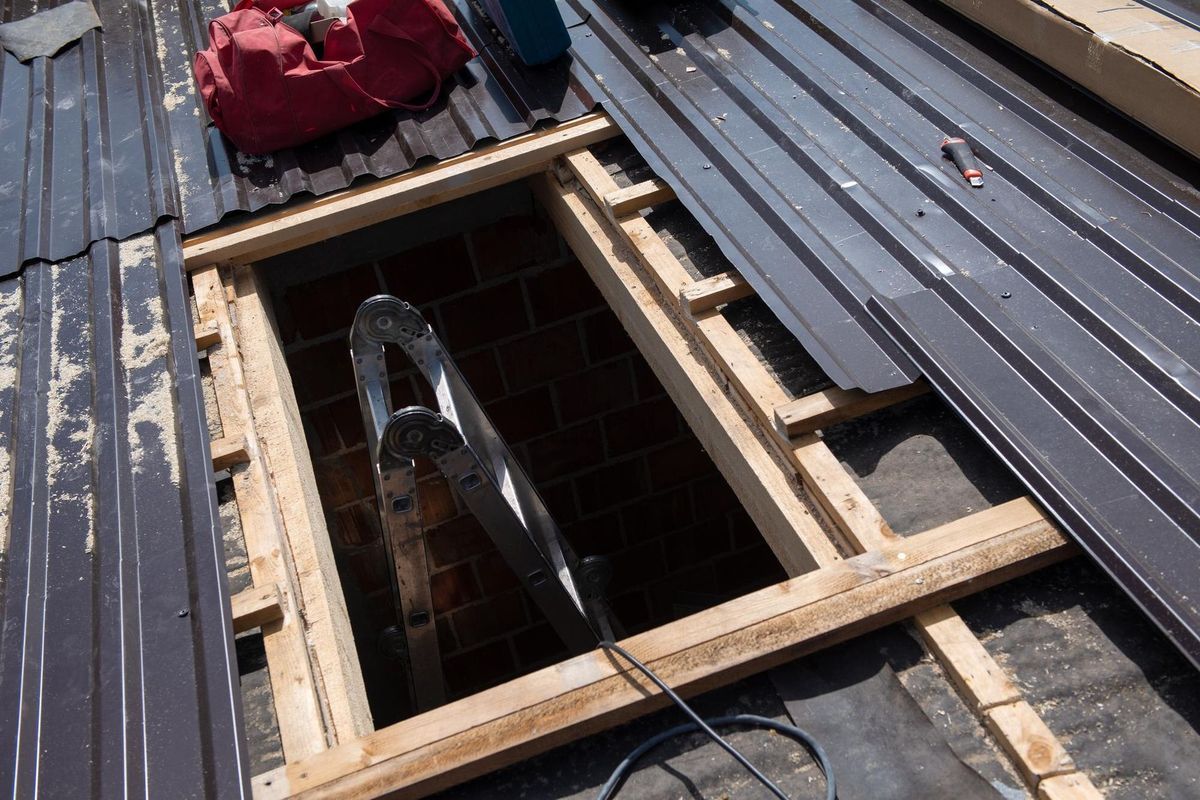
Remove Shingles: From the roof, remove the shingles around the marked spot. This step is crucial for making a clean installation and preventing damage to surrounding materials.
-
Cut the Hole: Using a jigsaw or circular saw, cut a hole in the roof around the nail. Make sure the hole size matches your vent to avoid any gaps that could lead to leaks.
-
Position the Vent: Place the vent over the hole. Ensure the bottom edge of the vent slides under the surrounding shingles to maintain a seamless look and prevent water infiltration.
-
Secure the Vent: Nail the vent into place. Use roofing tar or asphalt plastic cement around the edges to create a watertight seal, protecting your roof from leaks.
-
Reinstall Shingles: Carefully replace the shingles around the vent. Make sure they’re correctly positioned to direct water away from the vent and maintain the roof’s integrity.
For more detailed instructions and insights on various roofing techniques, you can explore our comprehensive guides on the Prime American Roofing blog. Proper sealing and installation ensure your vents perform efficiently, keeping your roof well-ventilated. This method helps prevent moisture buildup and extends the life of your roofing materials. Following these steps will give you a reliable and functional ventilation system, enhancing your property’s energy efficiency and comfort.
Ensuring Secure and Effective Installation
Ensuring your roof vent is securely installed and waterproofed is key to maintaining a leak-free, efficient system. Here’s how to make sure everything’s in place.
First, focus on sealing. Use roofing tar or asphalt plastic cement liberally around the vent’s edges and nail heads. This step is crucial to prevent water from sneaking in and causing damage. Proper sealing ensures a tight barrier against the elements.
Once the vent is in place, check if it’s functioning as expected. For turbine vents, it’s important they spin freely, even with minimal wind. This indicates they’re working efficiently to expel hot air from your attic.
Here’s a checklist to ensure your vent is installed securely and effectively:
- Apply Sealant: Use roofing tar or cement generously around edges and nails.
- Inspect Turbine Movement: Make sure turbines spin with a light breeze.
- Check Shingle Placement: Ensure shingles are correctly positioned to direct water away.
- Review Vent Positioning: Confirm the vent is snugly fitted and aligned with the roofline.
- Conduct a Water Test: Lightly spray water to check for leaks around the vent and shingles.
After installation, inspect everything to confirm it’s secure and working. This attention to detail helps maintain a dry, safe environment in your home or building. For more detailed guidance on maintaining your roof, consider exploring our essential insights and tips for residential roofers, which provide valuable information on regular inspections and maintenance.
Key Takeaways for Successful Ventilation
Proper roof ventilation is key for maintaining energy efficiency and extending the lifespan of your roof. It helps manage heat and moisture levels, reducing the strain on HVAC systems and preventing damage like mold growth. When planning your ventilation, consider your attic size and roof slope to determine the type and number of vents needed. A balanced system with both intake and exhaust vents ensures smooth airflow and optimal performance.
Here’s a quick recap of the steps:
- Assess Ventilation Needs: Measure your attic and consider roof slope to plan the vent layout.
- Choose the Right Vent Type: Select vents that suit your roof design and climate conditions.
- Prepare for Installation: Mark vent spots, gather tools, and check existing vents.
- Install Vents Carefully: Follow precise steps for secure and leak-free installation.
- Seal and Inspect: Apply sealant and check vent functionality to ensure effective performance.
Our guide provides you with the essential steps for a successful DIY project. It’s a great resource for those looking to enhance their property’s ventilation. If you’re tackling complex installations or simply want peace of mind, consider reaching out to professionals.
For a seamless experience and expert advice, get a free quote from our team. We’re here to help with all your roofing needs.