Understanding Roll Roofing
Roll roofing is a practical choice for those looking to cover low-slope roofs without breaking the bank. It’s an easy-to-install option, perfect for sheds, garages, and workshops. Made from materials like mineral-surfaced asphalt or fiberglass, roll roofing comes in handy rolls that you simply lay down in overlapping strips. This makes it a convenient solution for many DIY enthusiasts and property owners.
Here’s why roll roofing might be the right fit for your project:
- Budget-Friendly: It’s generally cheaper than traditional shingles, making it an attractive choice for cost-conscious homeowners.
- Simple Installation: The roll format allows for straightforward application, even if you’re not a roofing pro.
- Versatile Use: Ideal for low-slope structures like sheds and garages, offering a quick way to protect these types of buildings.
With its affordability and ease of use, roll roofing is a great way to ensure your smaller structures are well-covered without spending a fortune. Understanding these basic features can help you decide if it’s the right roofing solution for your next project.
Preparing for Installation
Getting ready for roll roofing installation is all about setting up the right foundation. You want to start with a clean slate.
Clean the Surface: Make sure the roof surface is free from dirt, grime, and any debris. A smooth and dry area is critical for the roofing to adhere properly.
Measure the Roof: Accurate measurements are key. Determine how much roll roofing you’ll need by measuring the roof’s dimensions. This helps avoid wastage and ensures you have enough material.
Check Local Codes: Before diving into the installation, it’s wise to check local roofing codes. Compliance ensures your installation meets all necessary regulations and standards.
Layout the Materials: Unroll the materials and lay them out. Flattening them in the sun can make them easier to work with. This step is crucial for a smooth application process.
For those considering a comprehensive approach to roofing projects, understanding the importance of underlayment can be invaluable. Explore our step-by-step guide to roof underlayment installation to ensure a protective barrier against moisture and weather damage.
Having these steps nailed down makes the installation process much more manageable. With a clean, prepped surface and all materials ready, you’re set to tackle the actual installation with confidence.
Gathering Tools and Materials
Before starting your roll roofing project, having the right tools and materials on hand is essential. Let’s break down what you’ll need and why each item matters.
-
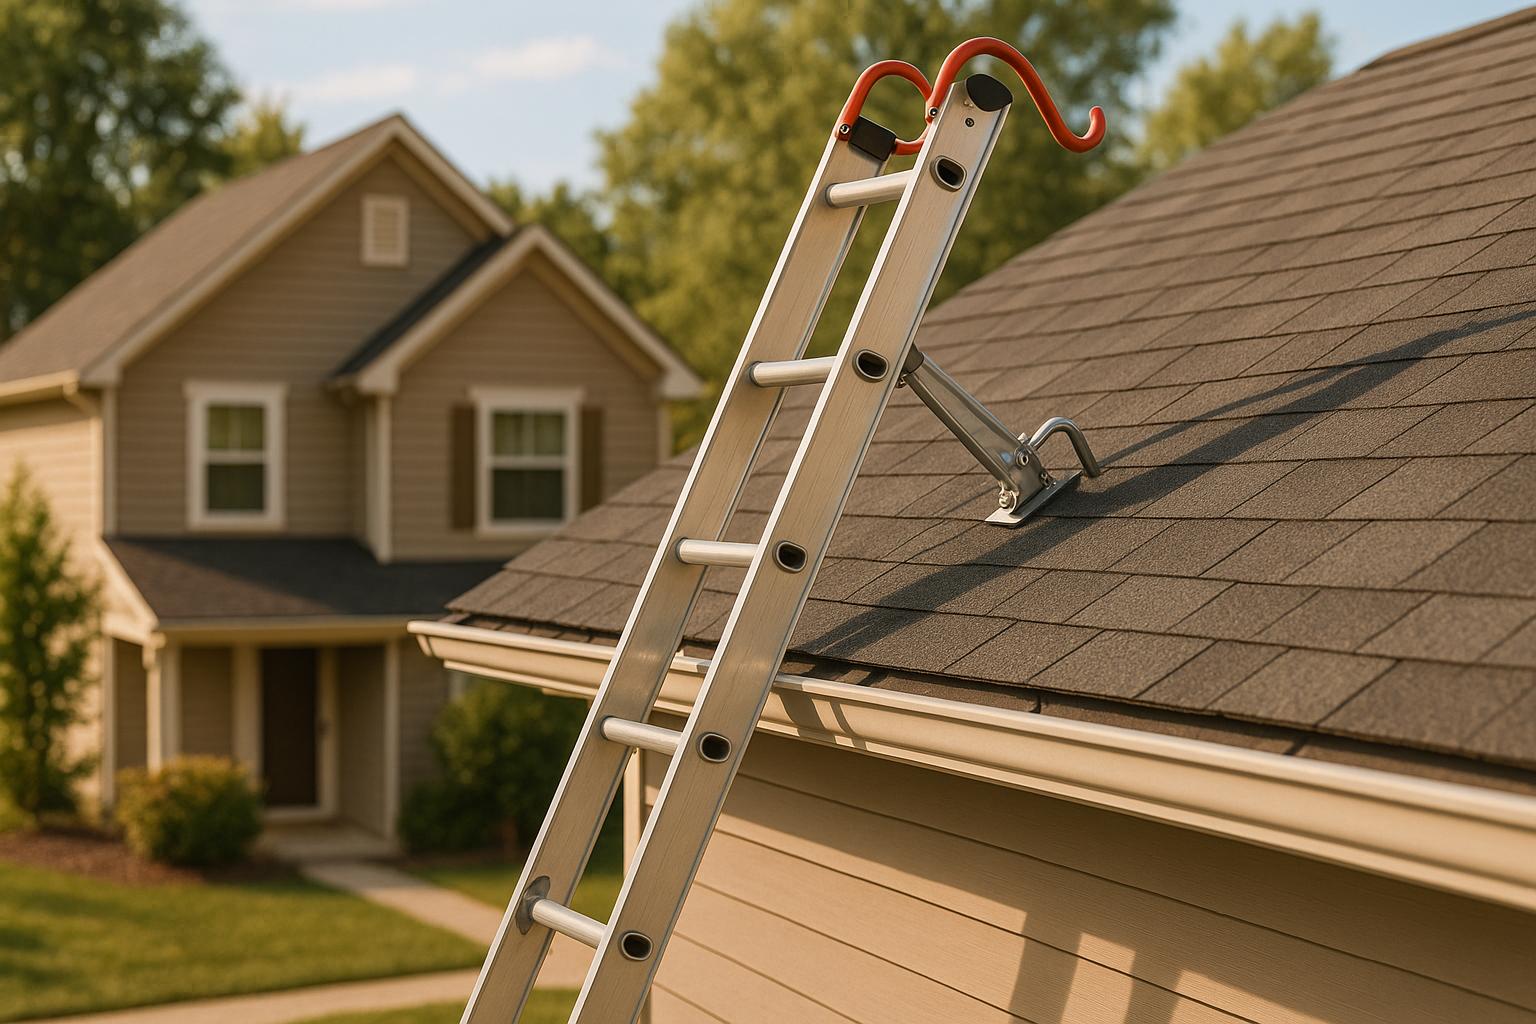
Ladder: Crucial for accessing your roof safely and efficiently. Ensure it’s stable and tall enough to reach the work area comfortably.
-
Power Nailer or Hammer: These tools are necessary for securing the roofing material. A power nailer speeds up the process, while a hammer offers precision.
-
Utility Knife: Perfect for cutting the roll roofing to size. You’ll need a sharp blade for clean cuts, ensuring a snug fit.
-
Tin Snips: Handy for trimming metal flashings or cutting through tougher materials when necessary.
-
Broom: Used to sweep the roof surface clean before installation. A clean surface helps the roofing material adhere properly.
-
Chalk Line: Essential for marking straight lines on the roof. This ensures your roofing rolls are aligned correctly during installation.
-
Roofing Cement: Acts as an adhesive and sealant, crucial for securing the edges and overlaps of the roofing material.
-
Roofing Nails: Used to fasten the roll roofing securely. Make sure they’re the right size and material for your specific roofing needs.
-
Trowel: A tool for applying roofing cement smoothly and evenly across the necessary areas.
For those interested in more detailed guidance on roofing projects, particularly commercial installations, you might find our step-by-step guide to commercial roof installation helpful. It provides insights into material selection and the installation process, ensuring durability and compliance with industry standards.
Gathering these tools and materials ahead of time sets you up for a smooth installation process. Being prepared means fewer interruptions, and you can focus on getting the job done right. Proper preparation is key to a successful roll roofing installation.
Step-by-Step Installation Process
To install roll roofing effectively, follow these steps for a secure and lasting result. This guide will walk you through each stage, ensuring your project’s success.
-
Mark the Chalk Line: Start by marking a straight chalk line along the roof to ensure proper alignment. This line will guide the placement of your roll roofing, helping you keep everything straight and neat.
-
Apply Roofing Cement: Spread a layer of roofing cement along the edges of the roof. This adhesive acts as a sealant to secure the roofing material and prevent water penetration.
-
Cut the Roll Roofing: Use a utility knife to cut the roll roofing to the required length. Ensure the cuts are clean for a snug fit, which minimizes gaps that could lead to leaks.
-
Position the Roofing: Align the cut piece of roll roofing along the chalk line and press it into the wet roofing cement. Make sure it is flat and properly positioned before moving to the next step.
-
Secure with Nails: Nail the roofing material at 10-inch intervals, starting from one side and working your way across. This secures the material firmly to the roof.
-
Overlap Layers: As you lay additional strips, overlap each layer by about 4 inches. This overlap is essential for watertightness and prevents leaks at the seams. For more insights on effective roofing practices, you might find our informative roofing guides helpful.
-
Cover Nails with Cement: Apply a small amount of roofing cement over each nail head to seal them. This step enhances waterproofing by preventing moisture from seeping through nail holes.
Following these steps carefully ensures a solid and watertight installation. Proper technique and attention to detail will give you a reliable roofing solution that stands up to the elements.
Layering and Overlapping Techniques
Layering and overlapping are the backbone of a successful roll roofing installation. They’re key to ensuring your roof stands up against water leaks and lasts for years.
First, mark a second chalk line parallel to the initial one. This line is your guide for the next layer, ensuring everything stays straight. Overlapping is crucial. When you lay down the next strip of roll roofing, make sure it overlaps the previous one by at least 4 inches. This overlap acts like armor, preventing water from sneaking through the seams.
Applying roofing cement is your next important move. Spread a generous layer of cement under the overlap. This not only seals the joint but also adds an extra layer of protection against moisture. Once the cement is in place, press down firmly to secure the overlap.
For those interested in understanding more about the importance of roofing materials and their role in preventing leaks, consider exploring our comprehensive guide to roof underlayment types. This guide provides insights into choosing the right underlayment to enhance your roof’s durability.
Now, let’s talk nails. Secure the layers by placing nails every 10 inches along the overlap. This tightens the bond and keeps everything in place. Covering each nail head with a dab of roofing cement is essential. This step ensures no water can seep through the small openings created by the nails.
Quick Tips:
-
Chalk Line: Mark accurately for straight, neat layers.
-
Overlap: Stick to at least 4 inches for maximum protection.
-
Cement Coverage: Don’t skimp; it’s your waterproof barrier.
Proper layering and overlapping are your best defense against leaks and extend your roof’s lifespan. Follow these steps closely, and you’ll have a roof that’s not just strong but reliable.
Pros and Cons of Roll Roofing
Roll roofing offers several advantages, especially for those watching their budget. It’s a cost-effective solution, usually cheaper than traditional shingles. This makes it a popular choice for projects where keeping expenses low is key. Its straightforward installation process is another plus. You don’t need to be a roofing expert to lay down roll roofing, which is a big win for DIYers.
However, there are some downsides to consider. Roll roofing typically comes in limited color options, mostly black. This might not suit everyone’s aesthetic preferences. It also has reduced durability compared to other roofing materials like shingles. For those interested in exploring more durable and aesthetically pleasing options, our residential roofing services provide expert guidance on selecting materials like asphalt shingles and metal roofing that offer longevity and enhanced curb appeal. This means roll roofing might not last as long, especially under harsh weather conditions.
Aesthetically, roll roofing might not be the best fit for residential homes. Its plain appearance might not match the visual appeal that homeowners desire. Nonetheless, it works well for low-slope roofs on sheds, garages, or workshops where looks aren’t the top priority.
Understanding these pros and cons helps in deciding if roll roofing meets your needs. It’s a practical option for certain situations, but not always the right choice for every project.
Tips for Successful Installation
Getting the most out of your roll roofing installation requires a bit of planning and some smart tips. Here’s how you can ensure everything goes smoothly.
-
Temperature Matters: Install roll roofing when the temperature is above 50°F. This helps the material lay flat and adhere properly.
-
Drip Edge Use: Always incorporate a drip edge along your roof’s perimeter. It aids in directing water away, reducing the risk of leaks. For more detailed advice on using drip edges effectively, explore our blog post about understanding drip edges and their importance.
-
Safety First: Avoid working on wet roofs. Wear shoes with good traction and always have someone nearby to assist.
-
Professional Advice: For complex projects, consider hiring a professional. Prime American Roofing’s expertise can be invaluable, especially for intricate installations. Our insights and tips for residential roofers provide additional guidance on selecting the right materials and ensuring quality work.
-
Smooth Surface: Ensure the surface is clean and smooth before laying down the roofing. This prevents potential issues like unevenness or poor adhesion.
-
Avoiding Overlays: While it might be tempting to install over existing shingles, it’s best to start fresh. A clean surface ensures better results and longevity.
By following these tips, you can avoid common pitfalls and achieve a high-quality roll roofing installation. Proper preparation and attention to detail make all the difference in getting a durable, reliable roof.
Wrap-Up and Key Takeaways
You’ve now got the essentials for tackling roll roofing like a pro. The key steps? Preparation, the right tools, and smart techniques. Prepping your surface and having everything ready before you start is crucial. Remember to measure accurately, clean the area, and double-check local codes. Tools like a power nailer, utility knife, and chalk line are your best friends for this job.
Roll roofing’s affordability and ease of installation make it appealing. However, consider its limited color range and durability. If you’re working on a shed or garage, it’s a solid choice. For residential homes, think about whether its look matches your style.
Follow these steps closely for a durable roofing solution. Proper layering and overlapping keep moisture out, while securing everything with nails and cement ensures a watertight finish. With these techniques, you’re set for a successful installation.
Need some extra guidance or a professional touch? Reach out to us. We’re here to help you get the roofing solution you need. Want a free quote or have questions? Contact us and let’s make sure your next project is a success.


