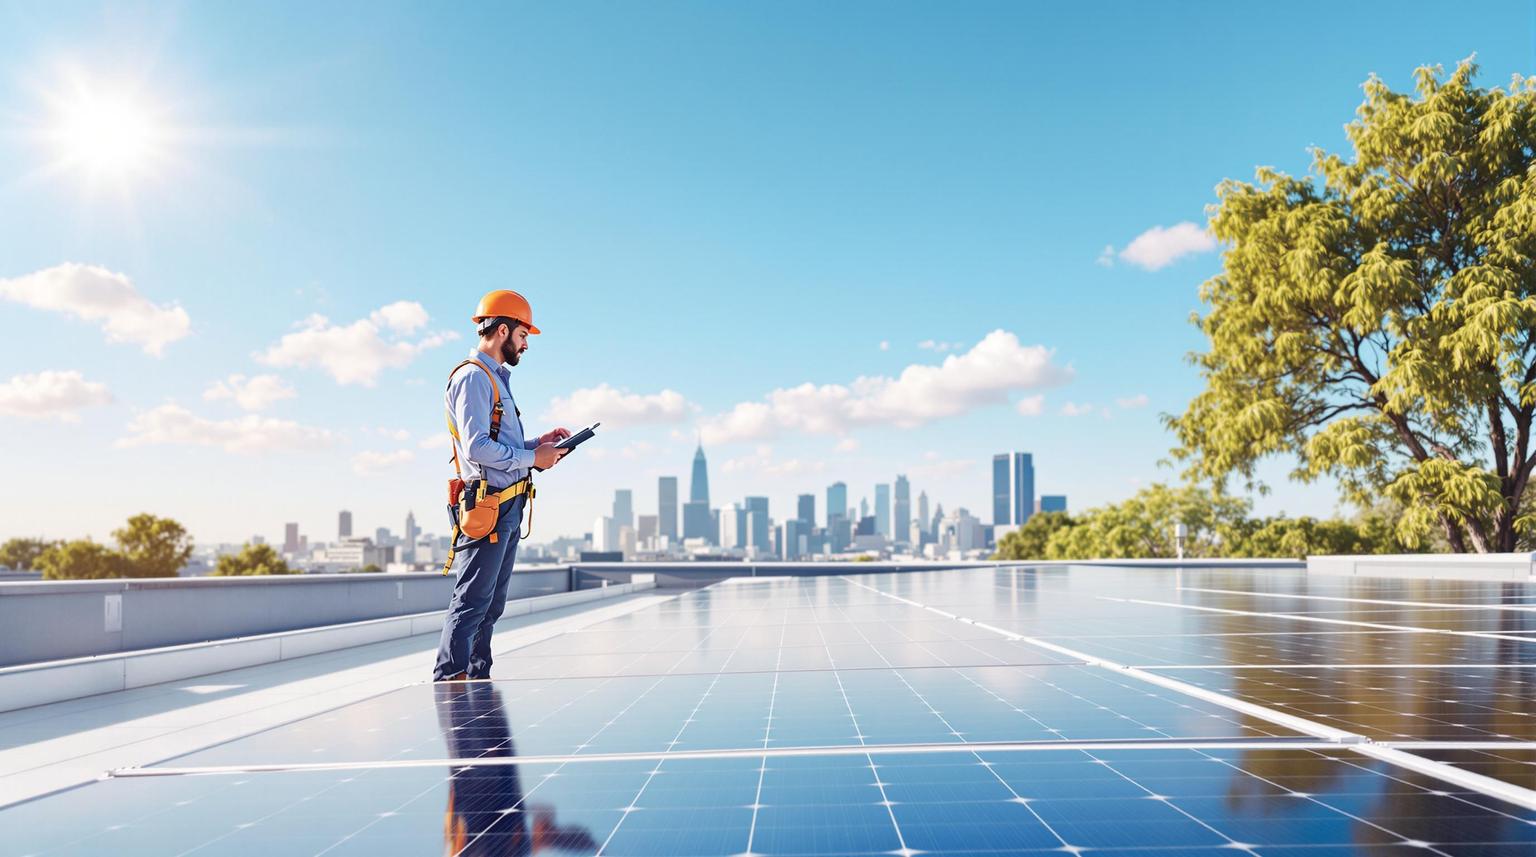
Installing solar panels in Los Angeles isn’t just about picking the right panels or hiring installers. It starts with a roof inspection to ensure your home can handle the panels safely and meets local building codes. Here’s what you need to know:
Key Points:
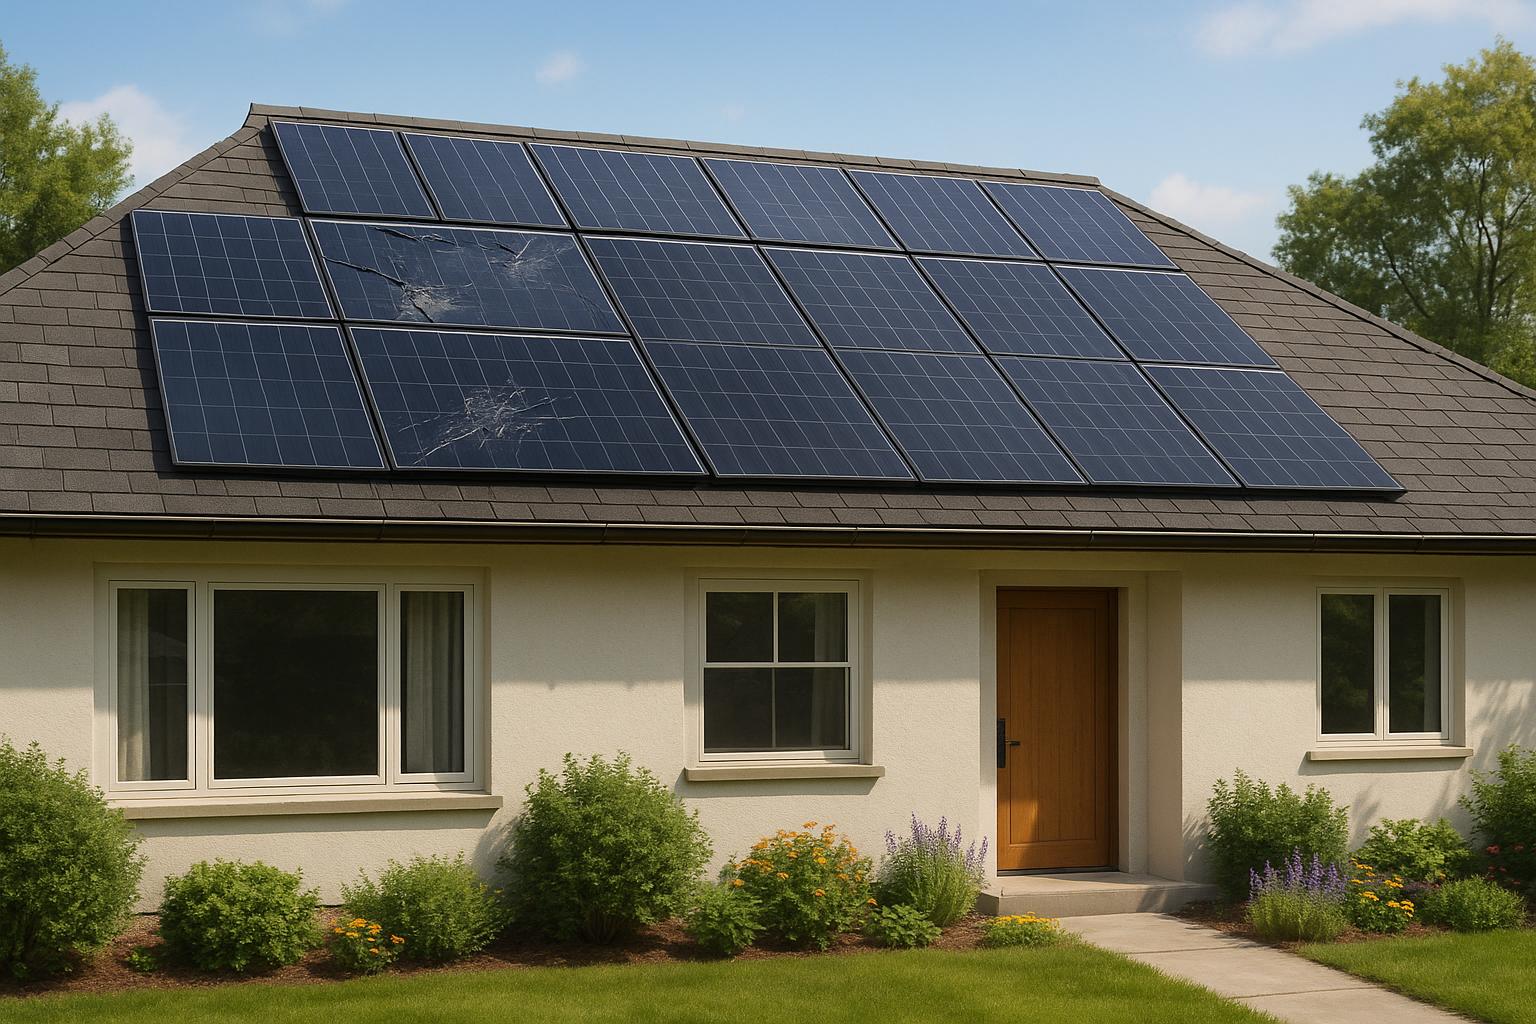
- Weight Check: Solar panels add ~40 pounds each to your roof. Inspectors assess if your roof can support this.
- Roof Condition: Damaged shingles, structural issues, or old roofs may need repairs or replacement before installation.
- Fire Safety: Fire codes require clear pathways (e.g., 3 feet for residential roofs) and proper spacing of panels.
- Earthquake Readiness: In Los Angeles, roofs must meet standards for seismic activity and wildfire zones.
- Building Permits: You’ll need permits from the Los Angeles Department of Building and Safety (LADBS) before installation.
Costs and Timeline:
- Inspection fees: $200–$800
- Permit costs: $200–$4,080
- Average timeline: 25–100 days
Proper inspections prevent costly issues, like removing panels for roof repairs later. By aligning your roof’s lifespan with your solar panels (25–30 years), you save time and money.
Quick Tip: Work with licensed professionals to streamline permits, inspections, and compliance with Los Angeles-specific regulations.
Roof Inspection For A Solar Panel Installation
Los Angeles Regulations and Compliance for Solar Roof Inspections
When it comes to solar installations in Los Angeles, strict local regulations are in place to ensure safety and streamline the inspection process. Below, we’ll break down the specific standards enforced during inspections.
Los Angeles Building and Safety Standards
The Los Angeles Department of Building and Safety (LADBS) oversees the permitting and structural requirements for solar installations. Whether for residential or commercial properties, every solar system must have a permit before installation. These requirements align with the California Building Standards Code (Title 24), which governs elements like structural integrity, electrical connections, and mounting methods.
To obtain a permit, installers must submit detailed documentation, including:
- A completed permit application form
- Site plans showing panel placement
- Electrical schematics
- Manufacturer specifications
- A structural analysis signed by a licensed engineer
The system must also meet National Electrical Code (NEC) standards, ensuring proper grounding, certified inverters, and zoning compliance for panel placement. LADBS enforces zoning rules to ensure panels don’t exceed building height limits and maintain proper clearance from roof edges and property lines.
Permit fees for residential systems typically range between $100 and $500, while larger commercial installations may cost more. The California Energy Commission estimates that solar requirements add about $9,500 to the average cost of a single-family home. However, incentives like LADWP programs and federal tax credits can help offset these costs.
Fire Safety and Access Requirements
Fire safety is another critical factor in solar installations. The Los Angeles Fire Department (LAFD) enforces specific fire safety standards to ensure that solar panel layouts allow for safe roof access during emergencies and proper smoke ventilation. Before installation, all systems must be approved by the LAFD’s Construction Services Unit.
Access and spacing requirements depend on the building type:
- Residential hip roofs: Require a 3-foot pathway per slope with panels
- Residential single ridges: Require two 3-foot pathways per slope
- Commercial buildings: Require a 6-foot clear perimeter, reduced to 4 feet for smaller buildings (under 250 feet on one axis)
Additionally, uninterrupted panel arrays cannot exceed 150 feet by 150 feet in any direction for fire safety reasons. All DC conduits, raceways, enclosures, and cable assemblies must be clearly marked and labeled to help emergency responders quickly identify and isolate solar electrical systems during an emergency. Warning signs must also be prominently displayed for first responders.
| Building Type | Access Pathway Width | Special Requirements |
|---|---|---|
| Residential Hip Roof | 3 feet wide | One pathway per slope with panels |
| Residential Single Ridge | 3 feet wide | Two pathways per slope with panels |
| Commercial Buildings | 6 feet wide | Clear perimeter around roof edges |
| Commercial (≤250 ft axis) | 4 feet wide | Reduced perimeter for smaller buildings |
These fire safety standards are a key focus during inspections. Inspectors verify that panel layouts meet access and spacing requirements to ensure emergency safety. By understanding these regulations, property owners can collaborate with their installers to design systems that meet compliance standards from the start, avoiding delays or costly adjustments during inspections.
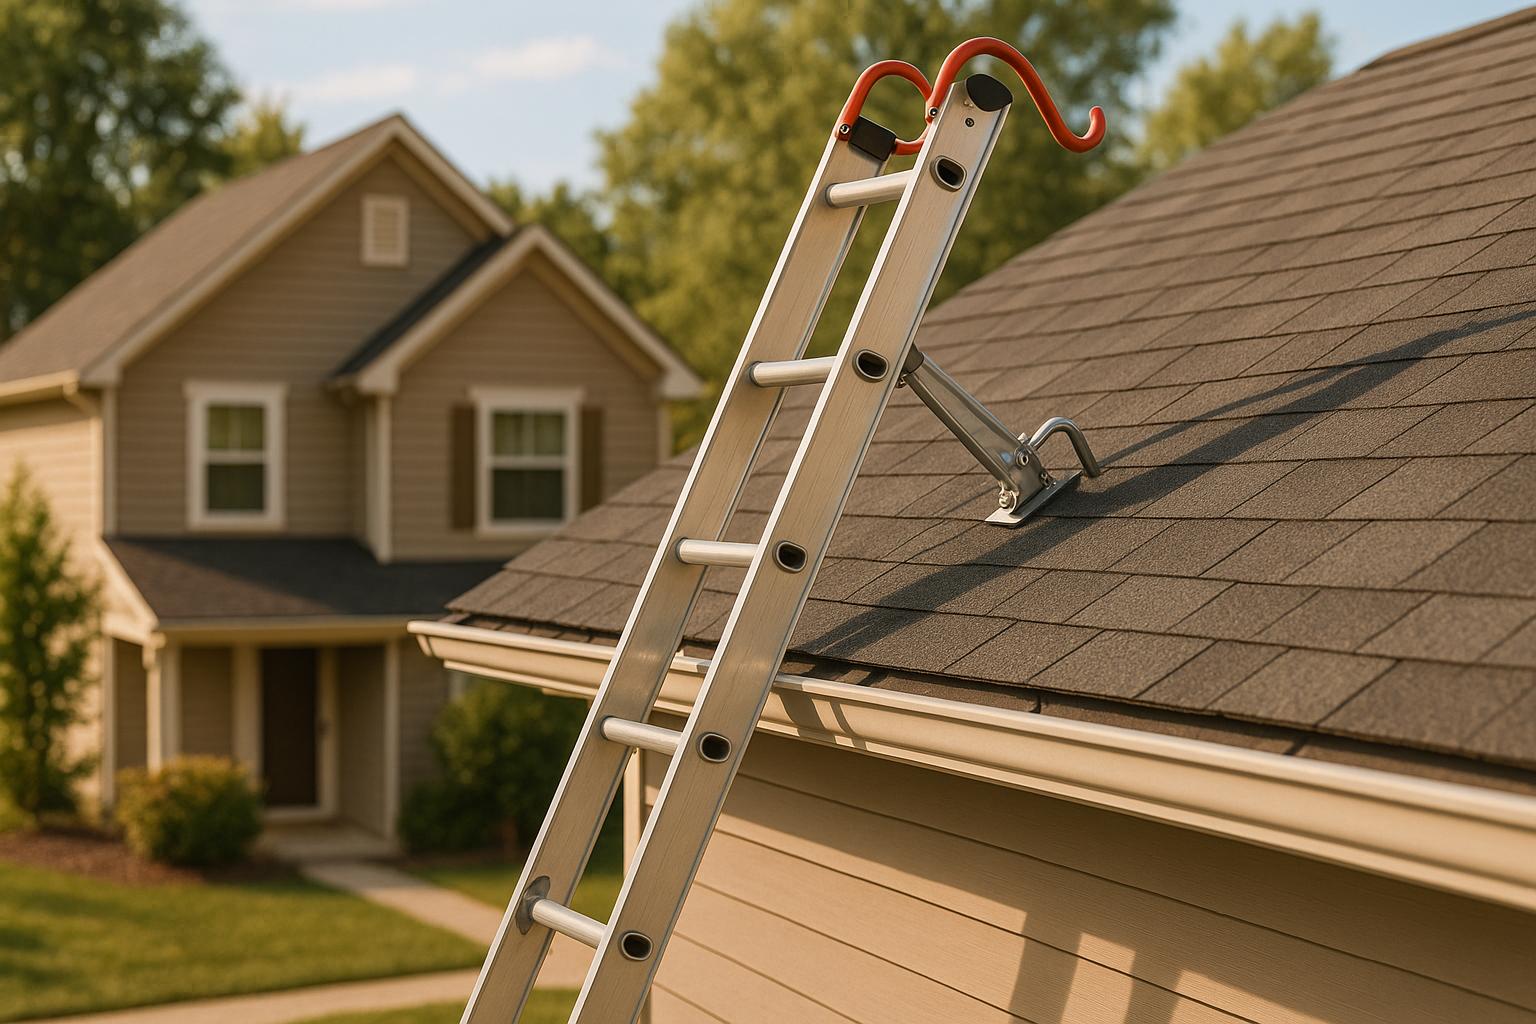
What Inspectors Check During Solar Roof Inspections
When preparing a roof for solar panel installation, inspectors evaluate several key aspects to ensure the roof can safely support the system. These assessments focus on structural integrity, roofing materials, and essential safety features.
Structural Strength and Weight Capacity
One of the first things inspectors check is whether the roof can handle the additional weight of solar panels. On average, solar panels add about 2–4 pounds per square foot. To ensure the roof can bear this load, inspectors look at the condition of rafters, trusses, and decking, checking for signs of sagging, cracks, or any damage to connections.
Certified professionals or structural engineers are often brought in to evaluate the roof’s load-bearing capacity. This assessment accounts for not only the weight of the solar panels but also the mounting hardware, electrical conduits, and other components. If issues are found, property owners might need to reinforce beams, replace damaged decking, or add extra support to protect both the building and the solar system. Once the structural assessment is complete, inspectors turn their attention to the roof’s materials and weatherproofing.
Roof Age, Materials, and Weather Protection
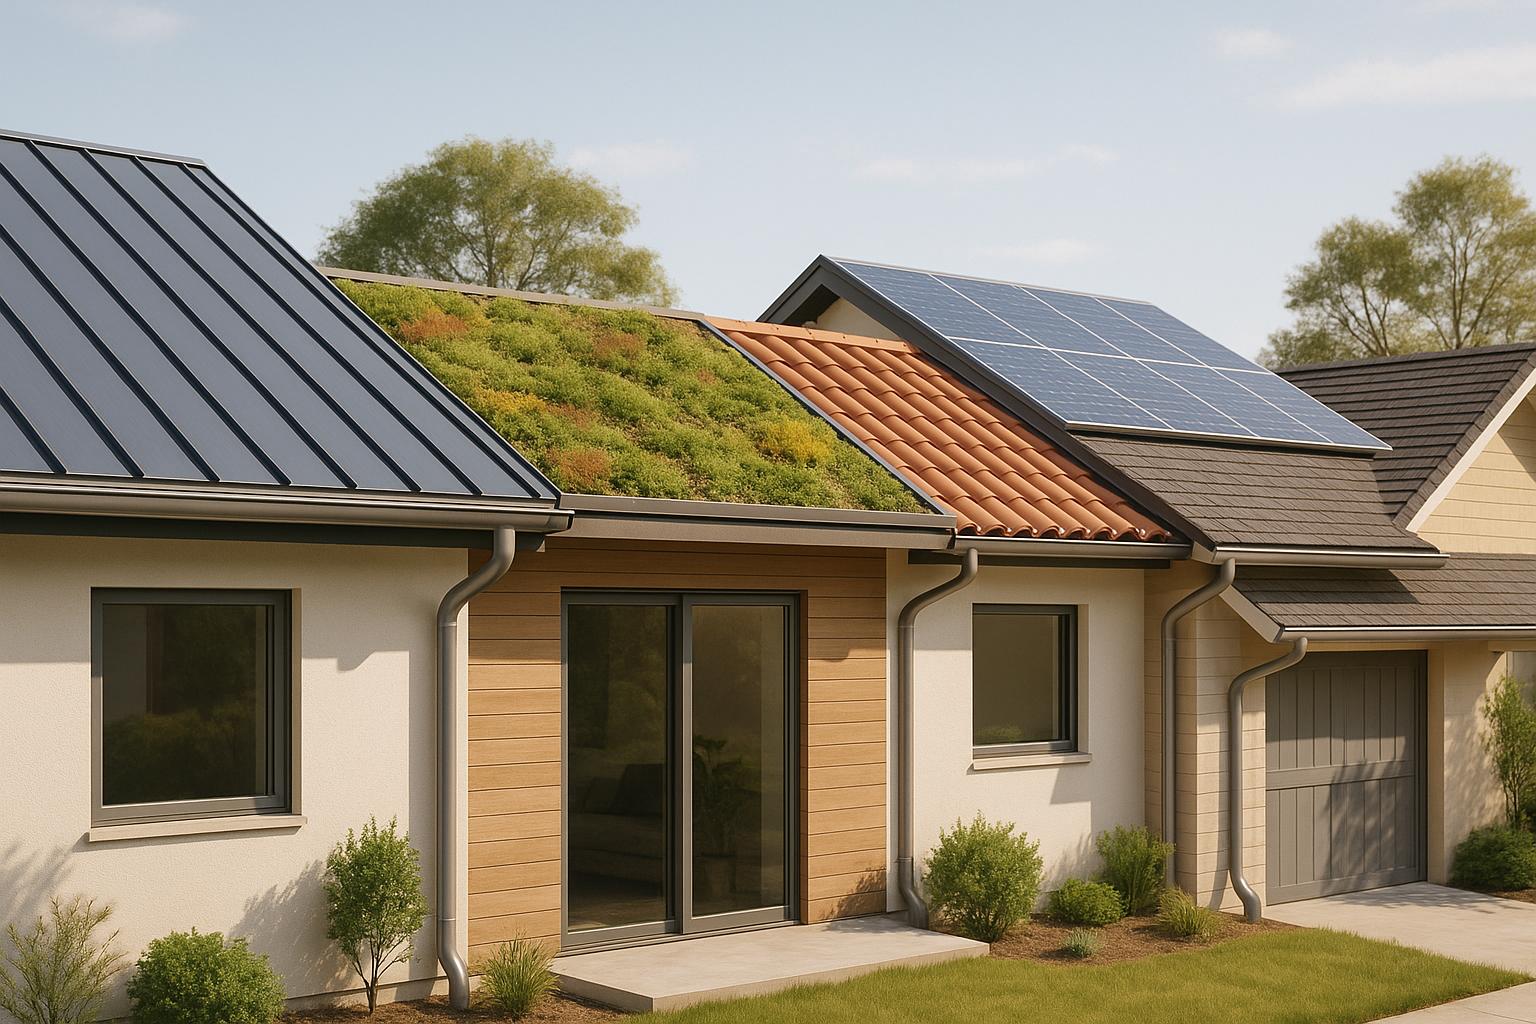
The type and condition of roofing materials play a big role in determining whether a solar installation is feasible. Inspectors carefully examine the roof for signs of wear, such as cracked or missing shingles, or water damage. The compatibility of the roof material with solar panels is also a critical factor. For instance, metal and tiled roofs are often ideal for installation, while slate or wooden roofs can pose challenges.
| Roofing Material | Solar Compatibility | Key Considerations |
|---|---|---|
| Asphalt Shingles | Good | Easy to install but may not outlast solar panels |
| Metal Roofs | Excellent | Durable, fire-resistant, and great for mounting |
| Tile Roofs | Good | Strong in hot climates but fragile, requiring special mounts |
| Slate/Wood | Challenging | Often needs specialized installation techniques |
The roof’s age is another crucial consideration. Inspectors determine whether the existing materials can securely hold solar panels without compromising the roof’s ability to protect against the elements. If repairs or maintenance are needed, they must be completed before installation to ensure the roof can support the system for its full 25–30 year lifespan. In some cases, a roof replacement may be necessary if its condition doesn’t align with the expected lifespan of the solar panels. Once this evaluation is done, inspectors focus on ventilation and fire safety.
Ventilation and Fire Safety Features
After structural and material checks, inspectors review ventilation and fire safety measures. They ensure that solar panels won’t block existing roof ventilation systems and confirm that fire-resistant materials meet current safety codes. Proper planning is critical to maintaining access pathways for emergency responders. These pathways must be at least 36 inches wide and free of obstructions to allow safe access during emergencies.
In February 2024, the National Fire Protection Association (NFPA) highlighted the importance of strategically placing access pathways to avoid interference from vent pipes, conduits, and other roof equipment. Additionally, solar panels must be set back from the ridge line based on specific coverage percentage requirements.
Inspectors also verify that all labels, markings, and warning signs are clearly visible and made from weather-resistant, reflective materials. For example, in Los Angeles, the Fire Department requires all solar installation plans to be approved by its Construction Services Unit before work begins. This ensures fire safety is integrated into the system design from the outset.
The Solar Roof Inspection Process Step by Step
A solar roof inspection follows a clear and organized process to ensure your property is ready for installation while meeting all safety and building standards. Knowing what to expect at each step can help you stay prepared and avoid unnecessary delays.
Required Documents and Planning Before Inspection
Before the inspection begins, you’ll need to gather a few key documents. In California, for example, residential solar installations usually require both building and electrical permits. You’ll also need to submit structural plans and electrical schematics to confirm that your roof can handle the additional load.
Your documentation package should include the following:
- Engineering reports that assess your roof’s ability to support the panels.
- Architectural drawings showing the layout of the solar panels.
- Completed permit applications for building and electrical work.
- Contractor licensing information, as California law requires licensed professionals for solar installations.
Make sure all your paperwork is complete and tailored to your local requirements to avoid delays. It’s a good idea to check with your city or county for specific guidelines before submitting your application.
For a smoother process, companies like Prime American Roofing assist with permit applications and document preparation, ensuring a hassle-free transition to the on-site inspection.
Once your paperwork is in order, the actual inspection process begins with a detailed evaluation of your roof.
What Happens During the On-Site Inspection
The on-site inspection focuses on assessing your roof’s condition, structure, and suitability for solar panels. Inspectors evaluate three primary areas:
| Assessment Component | Key Focus Areas |
|---|---|
| Roof Analysis | Structural condition, available space, and ideal panel placement |
| Shade Study | Impact of trees, nearby structures, and seasonal sunlight patterns |
| Electrical Review | Panel capacity, wiring needs, and equipment placement |
During the roof analysis, inspectors look for any structural damage, drainage issues, or weaknesses that could affect the installation. They also determine the best spots for panel placement, ensuring maximum efficiency. The shade study identifies potential obstacles, such as trees or buildings, that might block sunlight throughout the year.
The electrical review is equally comprehensive. Inspectors check your home’s electrical system to confirm it can handle the solar setup. This includes examining the main service panel for fire hazards or potential shorts. They ensure proper grounding for the panels, mounting rails, and conduits, and verify that wire types, connections, and breakers are correctly sized and installed. Accessibility of AC and DC disconnect switches is also reviewed to ensure emergency personnel can quickly shut off the system if needed.
Finally, inspectors assess the structural elements of the installation. They examine how the panels are attached, the installation of rails, and any reinforcements added to support the system. They also confirm that all safety labels and specification markings are in place and document any changes made during the inspection for follow-up discussions.
This thorough process ensures your solar installation meets all necessary codes and is safe for long-term use.
sbb-itb-d1d6490
Common Problems Found During Solar Roof Inspections
In Los Angeles, solar roof inspections often uncover issues that can delay installations. These inspections go beyond a surface-level check, emphasizing the importance of a detailed evaluation. As previously mentioned, a thorough inspection looks at both the physical condition of the roof and compliance with local regulations. Addressing these common problems upfront is essential for a smooth solar installation process.
"City Building Codes and Regulations are in place to keep you and your home or commercial property safe. Even seemingly minor code violations can increase the chance of electrical risk or your solar energy system having a future issue. Plus, failed inspections will delay your overall project and make it take longer to experience the benefits of going solar." – Forme Solar
Structural Problems That Prevent Solar Installation
Issues like sagging roofs, damaged rafters, or insufficient support can bring a solar project to a halt. Each solar panel adds around 40 pounds, so the roof must be sturdy enough to handle the extra weight safely.
Inspectors look closely for signs of sagging, which often indicate underlying structural problems, especially in older homes not built to accommodate modern solar systems. Weather-related factors are also part of the evaluation. Since solar panels are designed to endure winds up to 140 MPH, it’s crucial that the roof is strong enough to withstand extreme weather conditions.
To avoid last-minute complications, it’s a good idea to have a licensed roofing contractor assess your roof before finalizing plans for solar installation. Companies like Prime American Roofing can evaluate your roof’s condition and its readiness for solar panels, helping you resolve potential issues early.
Building Code Violations That Must Be Fixed
Beyond structural concerns, compliance with building codes is a critical aspect of the inspection process. Building code violations are a common reason for failed inspections, often leading to costly delays and additional repairs. Inspectors review adherence to electrical, building, and fire safety codes, and even small errors can disrupt your project.
Electrical code violations are among the most frequent issues. These include problems like incorrect wiring, improper system grounding, or missing GFCI protection in areas exposed to water. In some cases, electrical missteps may require panel derating, which can lower the system’s overall capacity.
Poor installation practices are another common culprit. Examples include exposed conduits that clash with the home’s exterior, roof penetrations that aren’t properly sealed, and missing or incorrect labels and markings for the photovoltaic (PV) system.
Fire safety compliance is also critical. Problems such as improper equipment placement that interferes with fire department access or the absence of required smoke and carbon monoxide alarms can result in inspection failures. These issues not only cause delays but can also lead to more significant setbacks, like utility companies rejecting your solar system.
The table below highlights some common violations and their potential impact:
| Common Violation Category | Specific Issues Found | Impact on Installation |
|---|---|---|
| Electrical Problems | Incorrect wiring, improper grounding, missing GFCI protection | Reduced system capacity and safety risks |
| Installation Quality | Exposed conduit, unsealed roof penetrations, missing labels | Water damage risks and compliance failure |
| Fire Safety | Improper equipment placement, missing alarms, incorrect markings | Inspection failure and possible utility rejection |
To meet code requirements, all work must be performed neatly and in accordance with the California Electrical Code (CEC 110.12). Solar PV components must also be installed, listed, and labeled as outlined in the approved plans. Hiring a licensed solar installation expert can significantly improve your chances of passing inspections on the first try, allowing you to enjoy the benefits of solar energy without unnecessary delays.
Costs and Timeframes for Solar Roof Inspections in Los Angeles
Navigating Los Angeles codes is crucial for a smooth solar installation process, but understanding the costs and timelines involved can make your planning even more effective. When budgeting for a solar roof inspection, you should expect fees to range between $200 and $800, with timelines varying based on your property’s complexity and the availability of inspectors.
Typical Inspection Costs and Permit Fees
Solar roof inspection fees generally fall between $200 and $800, while building and municipal permit fees can range from $200 to $4,080. For residential solar projects under 15 kW, permit fees are capped at $450. Additionally, structural assessments may add several hundred to over a thousand dollars, depending on the specifics of your property.
Fortunately, there are programs that can help reduce these costs. For instance, the LADWP Solar Rooftops Program (SRP) covers expenses related to home evaluations, permits, design, and installation. Participants in this program can also earn between $240 and $600 annually for up to 20 years. On top of that, the federal solar tax credit allows you to deduct 30% of total solar installation costs from your federal taxes.
Once you’ve accounted for the costs, the next step is understanding the timeline to help you coordinate your project efficiently.
How Long the Inspection Process Takes
The timeline for solar roof inspections typically ranges from 25 to 100 days. Permit approvals alone can take anywhere from 0 to 9 days, while the inspections and final approvals may add another 20 to 85 days. On average, the entire process takes about 41 days.
If you’re participating in the LADWP Solar Rooftops Program, the inspection process includes additional steps. Inspectors will assess the roof’s structural capacity and check for shading issues caused by nearby structures. Once your property passes inspection and gains program approval, the solar system is usually installed within 2 to 4 months after submitting your application.
Keep in mind that complex projects or periods of high demand for inspections can lead to delays. If the initial inspection uncovers code violations or structural problems, it may take several weeks to address these issues and schedule a re-inspection. While permit processing times have improved over the years, occasional delays still occur.
To avoid setbacks, it’s wise to partner with experienced installers who are familiar with local requirements and have strong relationships with inspection departments. Companies like Prime American Roofing can help streamline the process, reducing the chances of delays and keeping your project on track.
Maintaining Your Roof and Solar Panels After Installation
Once your solar panels are installed and approved, keeping up with maintenance is key to ensuring long-term performance. Regular upkeep not only keeps your system running efficiently but also helps protect the structure of your roof.
Regular Maintenance Tasks for Solar Panels and Roofs
To keep your solar panels working at their best, aim to clean them every six months. If you live in an area with high pollution or lots of debris, like Los Angeles, you may need to clean them every three to four months to prevent energy output from dropping by 15–25%. Manny from Solar Service Professionals emphasizes the importance of this:
"Regular solar panel cleaning in Los Angeles is essential for maintaining system efficiency and extending panel lifespan."
Los Angeles’ mix of air pollution, low rainfall, and Santa Ana winds makes frequent cleaning especially important. Use distilled water with a mild detergent for cleaning, and a soft brush to remove snow if necessary. It’s also a good idea to monitor your system’s performance weekly and check for issues like debris, shifts, or inefficiency after severe weather. Watch for warning signs like discoloration, burn marks, or hot spots on the panels, as these could indicate problems that need immediate attention.
Caring for your roof is just as important. Inspect the area around your panels regularly for leaks, loose shingles, or damaged flashing, particularly near mounting points. Solar panels add extra weight to your roof, so keep an eye out for sagging or other signs of structural stress.
Trim nearby trees to prevent shading and debris buildup. Check for nesting animals along the edges of the panels, and consider installing guards or mesh to keep them away.
Don’t forget to inspect the mounting hardware, cables, and connections for signs of looseness, corrosion, or wear. If your inverter display shows any error codes, consult your user manual for troubleshooting steps.
Zain Jan, co-founder and CEO of Better Earth, highlights the durability of solar panels:
"Unlike a car, where you drive it every day and there’s moving parts and a much higher chance of something happening, solar panels don’t really have any moving parts… Of course, there’s issues that happen just like with any product, but for the most part, there aren’t many issues that happen."
Keep a detailed log of all maintenance activities, including cleaning dates, inspection results, and any repairs. Scheduling an annual professional inspection with experienced contractors, such as Prime American Roofing, can help uncover hidden issues that routine checks might miss. Regular, well-documented maintenance ensures your system continues to perform efficiently, just as thorough inspections were crucial during installation.
FAQs
What fire safety and access rules apply to installing solar panels on residential roofs in Los Angeles?
Solar Panel Installation Guidelines in Los Angeles
When installing solar panels on residential roofs in Los Angeles, it’s crucial to follow specific fire safety and access regulations to meet local codes and ensure safety.
Fire safety rules require maintaining at least a 3-foot clearance around the roof edges. This space allows emergency responders to access and ventilate the roof if needed. Solar panels must also avoid obstructing any designated fire department access points.
Additionally, the Los Angeles Municipal Code mandates clear access pathways. These pathways typically include unobstructed aisles and a minimum 6-foot-wide perimeter around the roof edges. This ensures safe navigation for emergency personnel during critical situations.
By following these rules, you can ensure your solar panel installation is both safe and compliant with local regulations.
How can I tell if my roof is strong enough for solar panels, and what should I do if it isn’t?
Before installing solar panels, it’s crucial to have your roof inspected by a professional. An experienced inspector will evaluate its structural strength, age, and overall condition to confirm it can handle the added weight of the panels.
If the roof doesn’t meet the requirements, the inspection will highlight any repairs or reinforcements needed. Taking care of these issues in advance helps ensure your roof stays secure and durable, while also optimizing the performance and longevity of your solar panel system.
What financial incentives are available for solar panel installations in Los Angeles, and how can they reduce upfront costs?
Homeowners in Los Angeles have access to several financial incentives that can make installing solar panels much more affordable. One of the biggest benefits comes from the Federal Solar Investment Tax Credit (ITC), which lets you deduct 30% of your total installation cost from your federal taxes. For example, if your solar panel system costs $20,000, you could save $6,000 on your taxes, bringing your overall cost down to $14,000.
On top of that, California has its own programs to help with costs. The Self-Generation Incentive Program (SGIP) offers rebates for battery storage systems, which can be paired with solar panels. There are also extra incentives available for low-income households, providing additional savings. These programs make solar energy an affordable and smart option for Los Angeles homeowners looking to cut energy costs.