Understanding Gutter Leaks
Gutter leaks can cause serious headaches for homeowners. Water damage and structural problems are just the start. If you leave these leaks unattended, you’re looking at costly repairs down the road.
Common issues include sagging gutters, overflowing, and persistent dripping. It’s crucial to spot these problems early. You might notice water pooling around your home or even a musty smell indoors. These are clear signs that your gutters need some attention.
Common signs of gutter leaks:
- Water Dripping: Look for water dripping from the gutter seams.
- Puddles: Check for water pooling around your home’s foundation.
- Musty Smell Indoors: This could indicate water ingress.
Identifying these signs early is key. It allows you to act swiftly and protect your property. With a little knowledge and some quick action, you can prevent major damage. Understanding these basics sets you up for effective repairs, saving you time and money.
Keep your gutters in top shape to maintain your home’s value. Stay alert to these signs and address issues as soon as they appear. This proactive approach will safeguard your home and your wallet.
Identifying and Fixing Gutter Leaks
Gutter leaks can be a hassle, but fixing them is straightforward with the right approach and tools. Here’s a step-by-step guide to get your gutters back in top shape.
Step 1: Gather Your Tools
Start by getting everything you need. Grab a ladder, silicone sealant, a wire brush, a caulking gun, and some protective gloves. For bigger holes, you’ll also need flashing material and tin snips.
Step 2: Locate the Leak
Check your gutters for any signs of leaks. Look closely at the joints and seams where water tends to escape. Mark these areas for repair.
Step 3: Clean the Area
Use a wire brush to clean around the leak. Make sure you’ve removed any debris or rust. This helps the sealant stick better. Wipe it down with rubbing alcohol to ensure it’s completely clean.
Step 4: Apply the Sealant
For small holes, use a caulking gun to apply silicone sealant directly over the leak. Ensure you cover the entire area to prevent future leaks. For larger holes, cut a piece of flashing to fit over the hole, apply roofing cement, and press the flashing into place.
Step 5: Fix Leaking Joints
Remove any old adhesive from the joint. Apply a fresh bead of silicone sealant and reassemble. Let it cure according to the sealant instructions. For more detailed guidance on addressing issues like misaligned gutters and improper pitch, consider reading our article on identifying and fixing incorrect gutter installations.
Step 6: Test Your Repair
Once everything is sealed, run water through the gutters. Check for any lingering leaks. If all is well, your gutters should be functioning properly again.
Regular maintenance helps keep your gutters leak-free, protecting your home and ensuring family safety. Stay vigilant, and your property will thank you.
Essential Tools for Gutter Repair
Having the right tools is key for effective gutter repairs. Start with the basics, and you’ll be ready to tackle most issues with ease.
- Silicone Sealant: Perfect for sealing small leaks. It creates a waterproof barrier that keeps water out.
- Roofing Cement: Use this for larger holes. It’s thicker than sealant and provides a durable patch.
- Caulking Gun: Essential for applying both sealant and roofing cement. Ensures a smooth, even application.
- Wire Brush: Great for cleaning the area around the leak. Removes debris and rust to help materials stick better.
- Flashing Material: Needed for bigger fixes. Covers holes and reinforces weak spots.
- Tin Snips: Use these to cut flashing to the right size. Make sure it’s a snug fit.
- Protective Gloves: Keep your hands safe. Essential when handling sharp or rough materials.
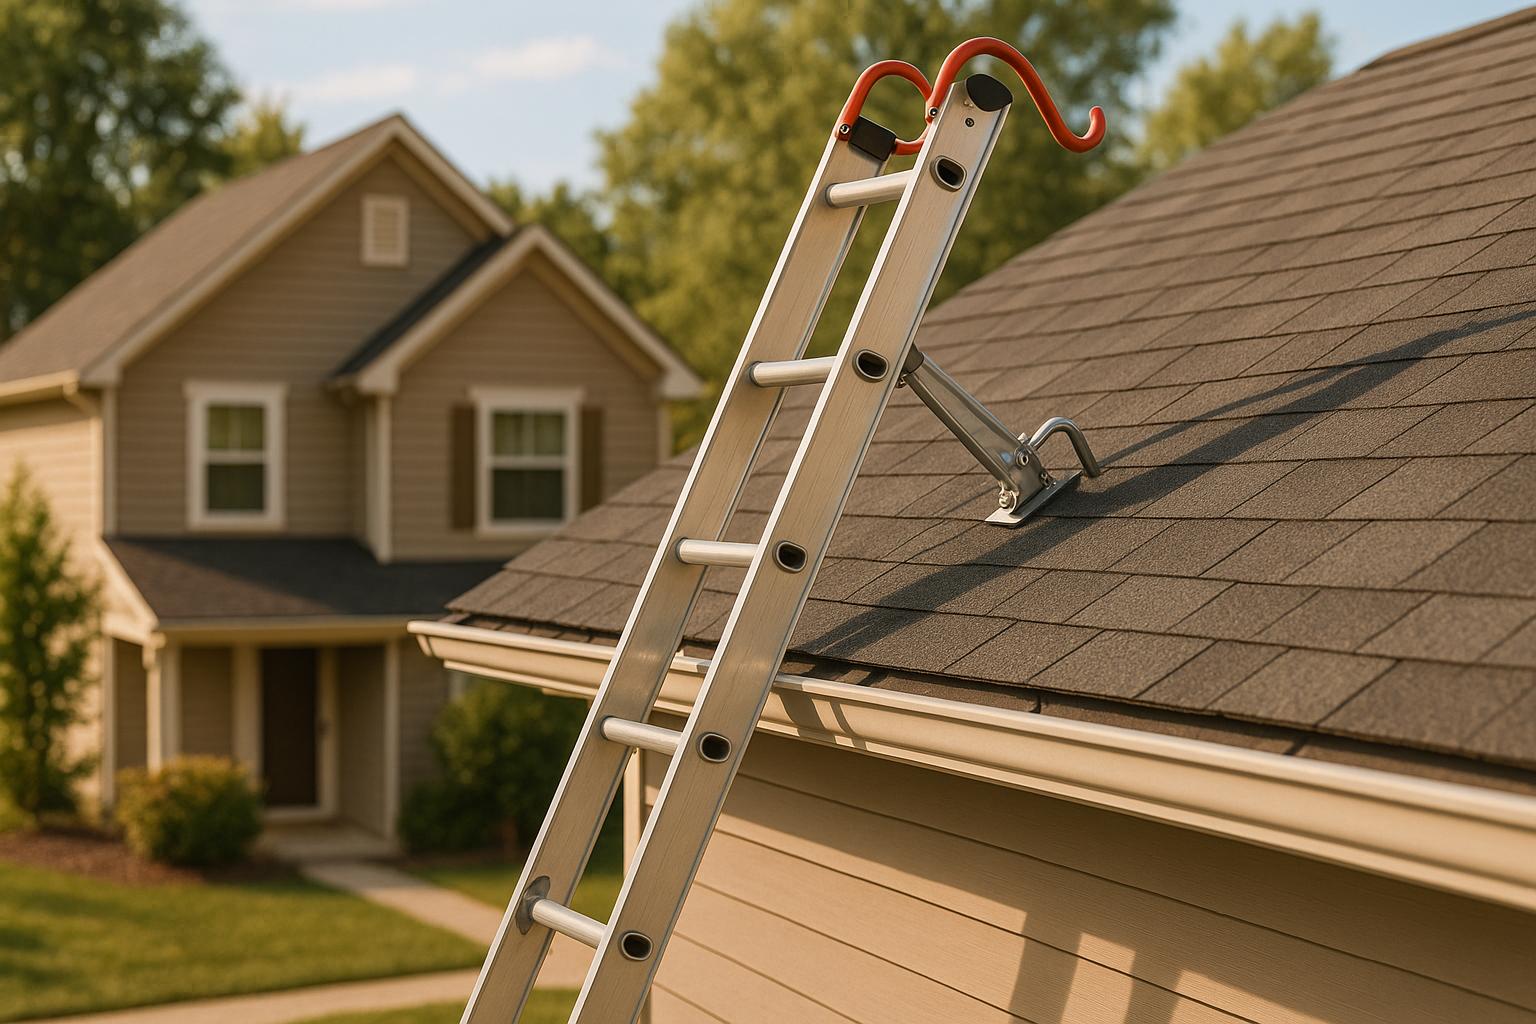
- Sturdy Ladder: Safety first. A reliable ladder is crucial for reaching your gutters.
Each tool plays a part in making repairs straightforward. Silicone sealant is ideal for quick fixes on small leaks. Roofing cement is your best friend for larger patches. A caulking gun makes sure you apply sealants evenly, while a wire brush helps prep the area for better adhesion. Flashing material and tin snips are necessary for more extensive repairs, ensuring durability.
For more detailed guidance on handling roof-related issues, such as vent leaks during heavy rain, consider reading about how to fix roof vent leaks. This resource provides insights into identifying and addressing common roof leak problems effectively.
Don’t forget your safety gear. Gloves protect your hands from cuts or irritation, and a sturdy ladder keeps you safe while reaching those high spots. With these tools, you’ll be well-equipped to handle any gutter repair job effectively.
Maintaining Your Gutter System
Maintaining your gutter system is crucial for preventing leaks and extending its lifespan. Regular upkeep means fewer headaches and less chance of costly repairs down the line.
Start by cleaning your gutters regularly. Leaves and debris can quickly clog gutters, leading to water overflow. After fall or a storm, make it a habit to clear out the mess. This keeps water flowing smoothly and reduces the risk of damage.
Inspect hangers and slopes frequently. Gutters should be securely attached and sloped correctly for proper water drainage. Sagging gutters are a red flag and need immediate attention to prevent leaks.
Consider the longevity of your materials. Aluminum and copper are popular choices for their durability. Check for signs of wear and tear. Spotting issues early can save you a lot of hassle.
Keep an eye on the downspouts. They should be clear and direct water away from your home’s foundation. Blockages here can cause significant water damage.
Think about installing gutter guards. These can minimize debris build-up and reduce cleaning frequency. They’re a smart investment for long-term gutter health.
By following these practices, you can keep your gutters in top shape. If you need a professional touch or advice, we’re here to help. For personalized solutions and a free quote, fill out our contact form. Reach out and ensure your home remains safe and leak-free.


