Why Install a Ridge Vent
Ridge vents play a crucial role in maintaining a healthy roofing system. They sit at the peak of the roof, letting warm, moist air escape from the attic. This natural ventilation helps in several ways.
- Improved Energy Efficiency: By letting out the hot air, ridge vents help keep your home cooler, which can reduce energy costs.
- Moisture Control: They help minimize moisture buildup in the attic, cutting down on mold risks.
- Structural Protection: Proper ventilation prevents moisture-related issues that could lead to structural damage over time.
Attic ventilation isn’t just a nice-to-have; it’s essential. Without it, you risk high energy bills and potential damage to your home structure. By understanding ridge vent installation, you’re taking a step toward enhancing your roof’s performance. This understanding not only safeguards your home but also ensures a more comfortable living environment.
Prime American Roofing knows the importance of every component of your roofing system. With our 20 years of experience, we offer solutions that enhance roof longevity and performance, all while maintaining quality and efficiency.
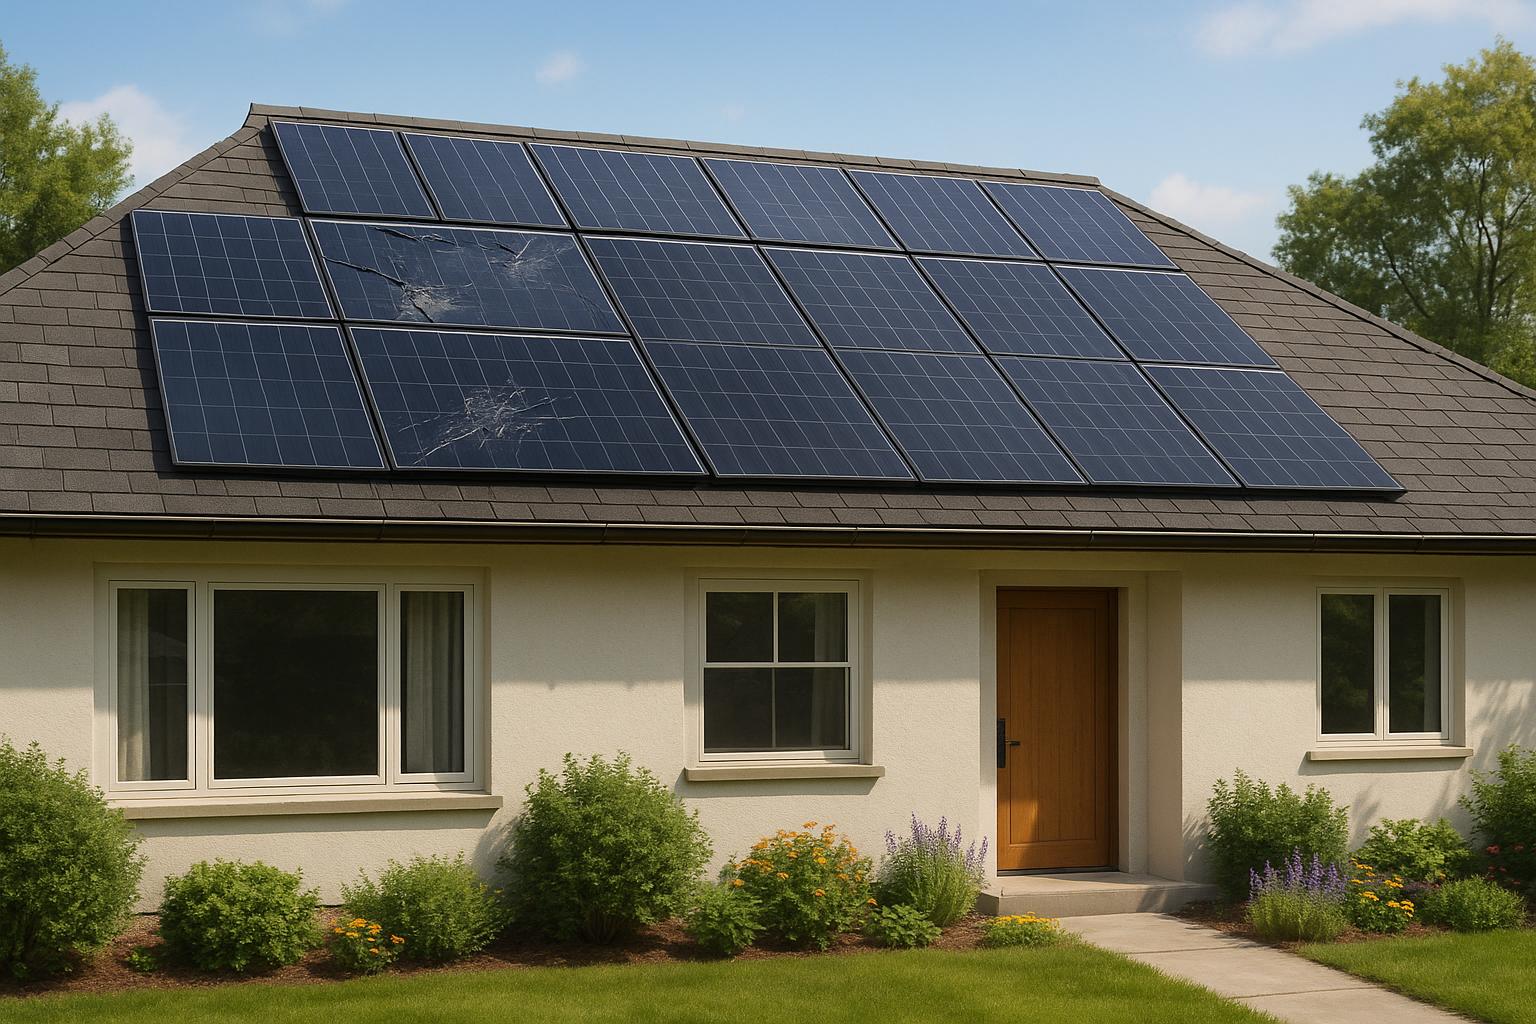
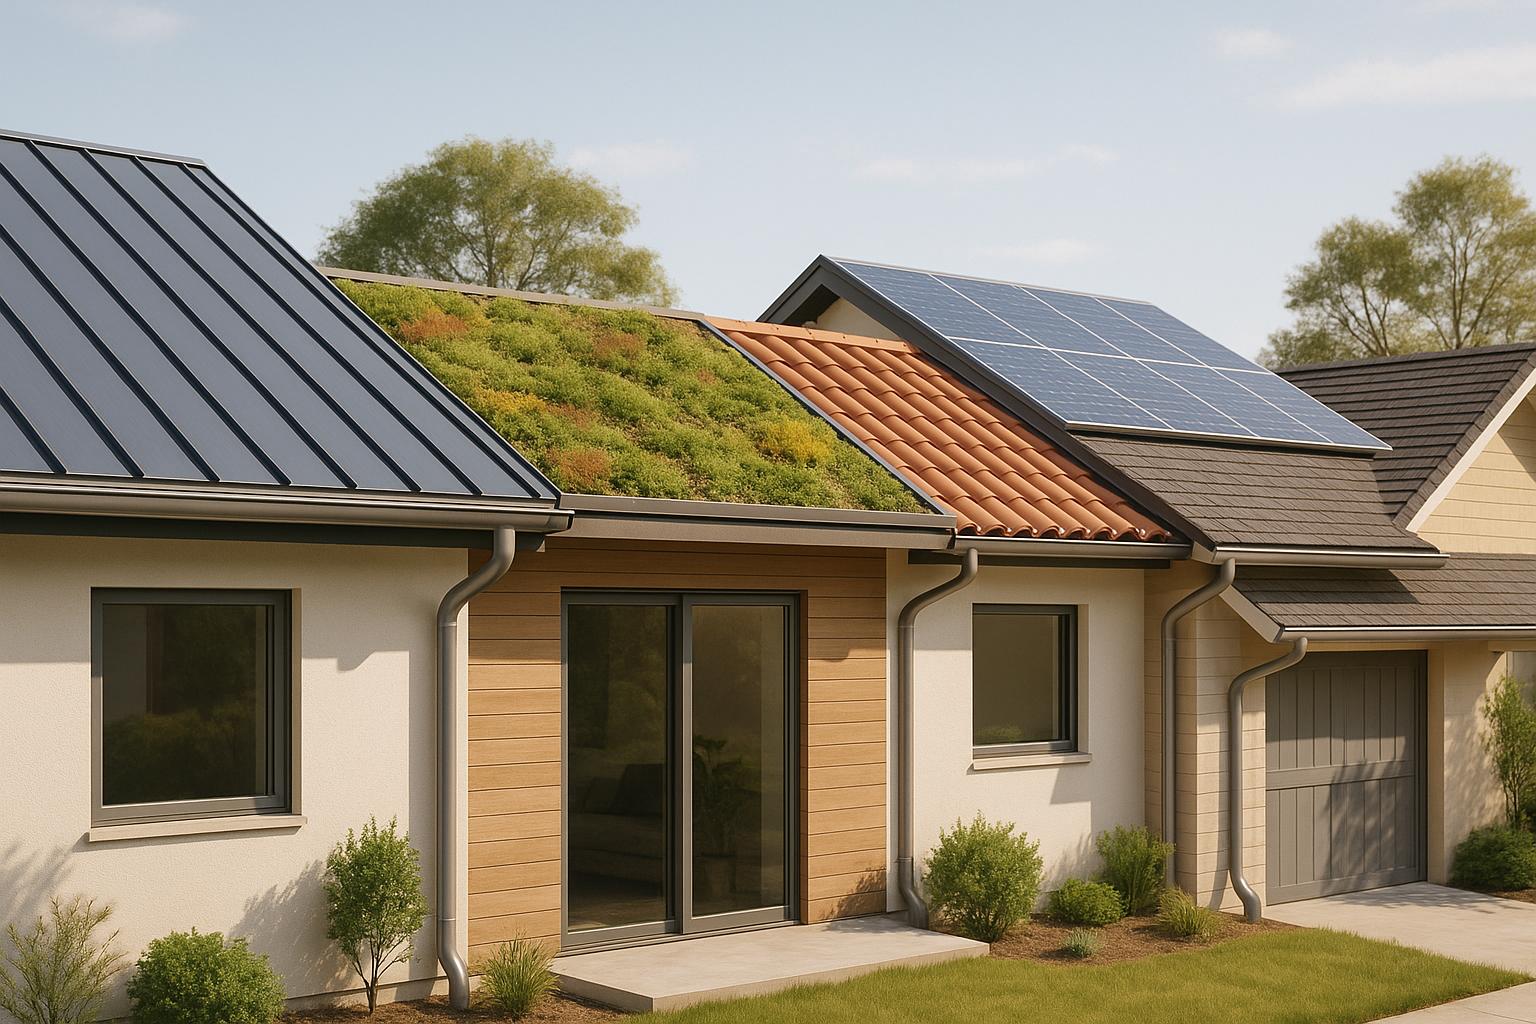
Types of Ridge Vents
Ridge vents come in a couple of styles, each with unique features. Understanding these can help you make the right choice for your roof.
-
Shingle-Over Vents: These are the most common type. They’re installed over the roof ridge and covered with shingle caps, blending seamlessly with the roof. This makes them a popular choice for many homeowners.
-
Aluminum Ridge Vents: Known for their mushroom-shaped profile, these sit on top of the shingles. While they provide a finished look, they might not offer the same durability as shingle-over options.
Selecting the right ridge vent involves considering your roof’s design. For example, gable roofs might benefit from one type, while hip roofs might need another. Think about what aligns best with your aesthetic preferences too.
Cost is another factor. Shingle-over vents generally integrate well but could be pricier due to the added shingle caps. Aluminum vents might save on initial costs but consider longevity and maintenance needs. For a more detailed understanding of metal roof ridge vents and their best options, you might find our comprehensive guide to metal roof ridge vents helpful.
Our team’s expertise ensures you get the right advice for your specific needs. We focus on your roof’s design and your personal preferences to guide you to the best choice.

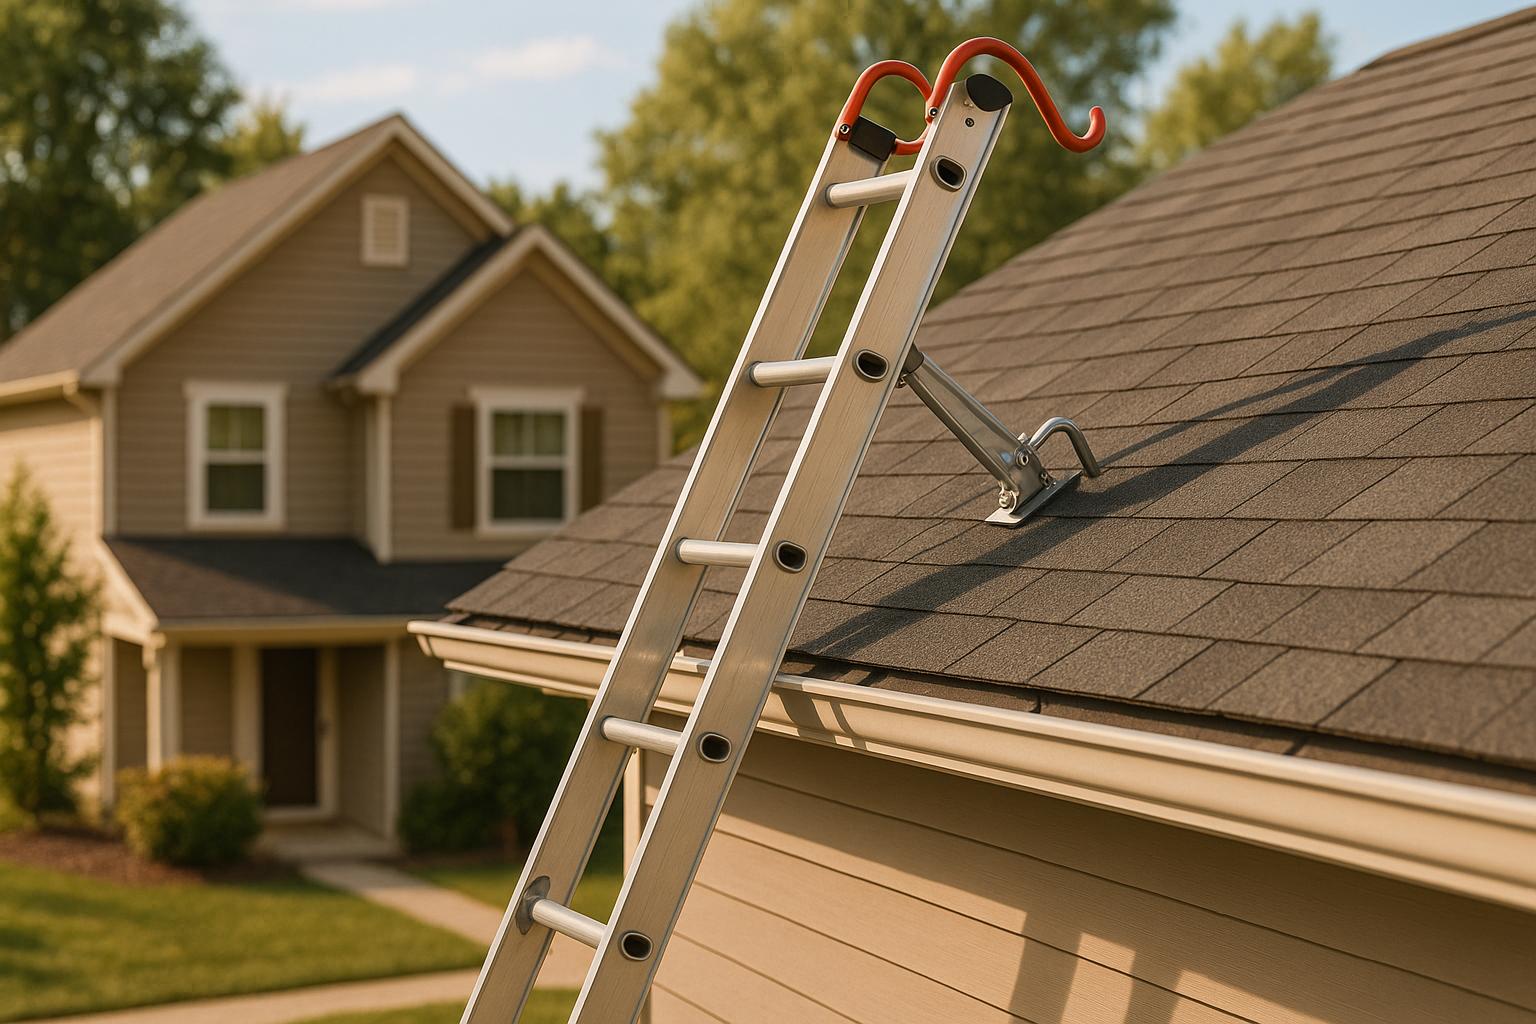
Steps to Install a Ridge Vent
Safety first. Always use fall-arresting equipment and ensure secure footing on the roof. If you’re uncomfortable with heights, consider hiring a professional for the job.
Tools and Materials
You’ll need:
- Tools: Hammer, flat pry bar, utility knife with a hook blade, chalk line, circular saw.
- Materials: 8d nails, ridge vent, roofing nails, standard roof shingles, shingle caps for shingle-over vents, polyurethane caulk for aluminum vents.
Installation Steps
-
Remove Old Shingle Caps: Start by taking off the old ridge cap shingles. Use the pry bar for this. It clears the way for the new vent.
-
Cut the Ventilation Opening: With a circular saw, cut back the roof decking along the ridge. This creates the necessary opening for air to escape.
-
Install the Ridge Vent:
- For Shingle-Over Vents: Align the vent along the ridge, secure it with roofing nails, and cover it with matching shingle caps. This ensures it blends with your roof.
- For Aluminum Vents: Mark reference lines on the roof. Apply polyurethane caulk to the vent’s flange, position it, and nail it down. The aluminum serves as the final covering.
-
Finalize and Inspect: After securing the vent, ensure all components are watertight. Check for any loose elements or gaps. Regular maintenance, including inspections and debris clearance, is crucial for preventing issues such as roof vent leaks during heavy rain, which can lead to significant risks like mold growth and water damage. For more information on identifying and fixing these leaks, learn how to fix roof vent leaks during heavy rain.
These steps help enhance your roof’s ventilation, safeguarding it from moisture damage and improving energy efficiency.

Ridge Vent Installation Tips
Thinking about installing a ridge vent on your roof? Great choice. Proper attic ventilation is key to maintaining energy efficiency and preventing moisture problems. Ridge vents do an excellent job of keeping your attic and home in top shape.
We covered the types of ridge vents—shingle-over and aluminum. Each has its own perks, so picking the right one depends on your roof’s design and your budget. Shingle-over vents blend in nicely but might cost a bit more. Aluminum vents are a bit more visible but can be easier on your wallet.
Now, let’s talk about the installation process. It involves removing old ridge caps, cutting a proper opening, and securing the vent. Sounds simple? It can be, but safety is paramount. Always use the right gear and tools—like a hammer, pry bar, and saw. If heights or tools make you uneasy, calling in a pro is wise.
Feeling ready to tackle your roof ventilation? Or maybe you’d rather leave it to the experts? Either way, the right choice ensures peace of mind. If you’re considering a professional touch, why not get a free quote from our team? Fill out our contact form, and we’ll help you make the best decision for your roof.