Understanding Roof Flashing and Its Importance
Ever wondered what keeps your roof sealed tight, even in the nastiest weather? That’s roof flashing doing its magic. Flashing is a thin material—think galvanized steel, aluminum, or copper—that channels water away from critical points on your roof where it meets vertical surfaces like walls or dormers. It’s crucial for keeping water out and preventing leaks.
Imagine this: rainwater pours down your roof and sneaks into any nook or cranny it can find. Without proper flashing, that water could seep into your home, causing mold, rot, or even structural damage. Flashing ensures water is directed away from vulnerable spots, like around chimneys and skylights, straight to the shingles and off your roof.
Common Flashing Materials:
- Galvanized Steel: Sturdy and corrosion-resistant, it’s the go-to for most installations.
- Aluminum: Lightweight and easy to shape, perfect for areas needing a custom fit.
- Copper: Durable and solder-friendly, though it develops a unique patina over time.
Flashing isn’t just a part of the roofing process; it’s essential for the roof’s longevity and your home’s safety. Without it, you risk leaks and damage. Understanding flashing means knowing your roof is built to last.
Common Roof Flashing Materials
Roof flashing comes in various materials, each with its own strengths and best-use scenarios. Whether it’s copper, aluminum, or UV-stabilized flexible PVC, each material serves a purpose in protecting your roof from water intrusion.
Copper: Known for its durability and ability to be soldered, copper flashing is often used in high-end architectural designs. It weathers into a distinct patina, adding aesthetic value while offering long-lasting protection. Copper is ideal for roofs where longevity and a classic look are desired, like historic homes or premium commercial buildings.
Aluminum: Lightweight and easy to manipulate, aluminum flashing is great for areas requiring a custom fit. It’s less expensive than copper and works well in various climates. However, it should be coated when used in coastal areas to prevent corrosion. Aluminum is often used in residential settings due to its flexibility and cost-effectiveness.
Galvanized Steel: This is the go-to material for many standard installations. It’s strong and corrosion-resistant, making it suitable for most environments. Galvanized steel is commonly found in commercial buildings, thanks to its balance between cost and durability. For a detailed look at how we approach commercial roof installations, you can refer to our step-by-step guide to commercial roof installation, which provides insights into selecting the right materials and ensuring long-lasting protection.
UV-Stabilized Flexible PVC: This modern material is perfect for unique roofing challenges, such as electrical mast flashing. It offers superior weather resistance and flexibility, making it ideal for roofs with irregular shapes or features. Its durability makes it a favorite for both residential and commercial applications.
Comparison Chart of Key Properties
- Durability: Copper > Galvanized Steel > Aluminum > PVC
- Cost: Copper > Galvanized Steel > Aluminum > PVC
- Ease of Installation: Aluminum > PVC > Galvanized Steel > Copper
Examples of Applications
- Copper: Used on historic renovations or high-end residences.
- Aluminum: Perfect for residential homes needing custom fits.
- Galvanized Steel: Preferred in commercial buildings for its robustness.
- PVC: Ideal for complex or uniquely shaped residential roofs.
Choosing the right material for roof flashing depends on your specific needs, budget, and the architectural style of the building. Understanding these options helps ensure your roof remains secure and leak-free.

Types and Applications of Roof Flashing
Roof flashing is essential for water management on your roof. Each type of flashing serves a specific purpose, ensuring that water is directed away from vulnerable areas, protecting the structure from leaks and damage.
Step Flashing is used where the roof meets a vertical wall. It’s installed in layers with shingles, directing water down the roof and into the gutter. This type is crucial for protecting areas where water might otherwise seep into the building.
Counter Flashing works with base flashing to shield chimneys. It’s embedded in the chimney masonry, overlapping the base flashing. This dual-layer system ensures water doesn’t penetrate the joint between the chimney and the roof.
Valley Flashing is placed in roof valleys, the V-shaped channels formed where two roof planes meet. It’s designed to channel water off the roof and into the gutter, preventing water accumulation in these low points.
Drip Edges are installed along the roof’s edges. They guide water away from the fascia and into the gutter, helping to prevent water damage to the roof’s underlying structure. For more detailed insights into the importance and installation of drip edges, you can explore our comprehensive guide on roofing essentials.
Kickout Flashing directs water into the gutter where step flashing ends. It’s essential in areas prone to water buildup, ensuring water flows away from the wall and into the gutter system.
Applications:
- Step Flashing: Roof-to-wall intersections
- Counter Flashing: Chimneys
- Valley Flashing: Roof valleys
- Drip Edges: Roof edges
- Kickout Flashing: Transition areas directing water to gutters
Understanding these types of flashing and their applications ensures your roof is equipped to handle water efficiently, safeguarding your property from potential water damage.
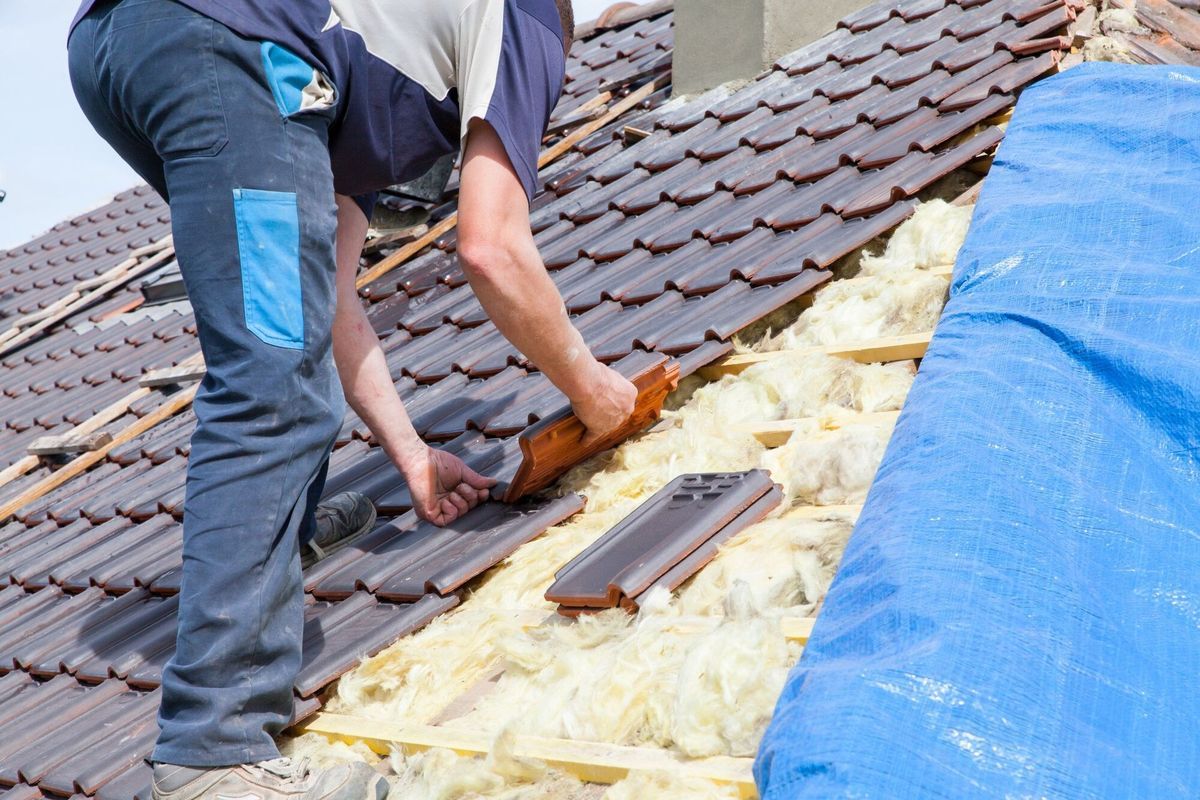
Installation Techniques and Best Practices
Proper roof flashing installation is key to keeping your roof watertight and long-lasting. Follow these steps to make sure your flashing is installed just right.
Step-by-step Guide:
-
Prepare the Area: Clear any debris and ensure the surface is clean. This helps the flashing adhere properly.
-
Embed in Cement: Use asphalt plastic cement to embed flashing pieces. This provides a strong seal against water intrusion.
-
Nail Placement: Secure flashing with nails into the roof deck, not the wall. This allows for natural expansion and contraction.
-
Overlap Correctly: Overlap flashing with shingles. This directs water off the roof, preventing leaks.
Common Mistakes to Avoid:
-
Improper Sealing: Always use sealant on nail heads to prevent leaks. For more detailed advice on preventing roof leaks, especially during severe weather, consider reading about fixing roof vent leaks during heavy rain.
-
Wrong Nail Placement: Don’t nail into both the roof and wall. This can cause deformation.
-
Insufficient Overlap: Not overlapping properly with shingles can lead to water getting underneath.
Proper Sealing and Nail Placement:
Sealing is crucial. Ensure all edges and seams are well-sealed with a waterproof sealant. Each nail should be covered with sealant to prevent water penetration.
Nail placement matters. Nails should be spaced evenly and driven into the deck, not the wall. This allows for movement without compromising the structure. Proper sealing and nail placement will keep your roof in top shape, providing protection and durability.

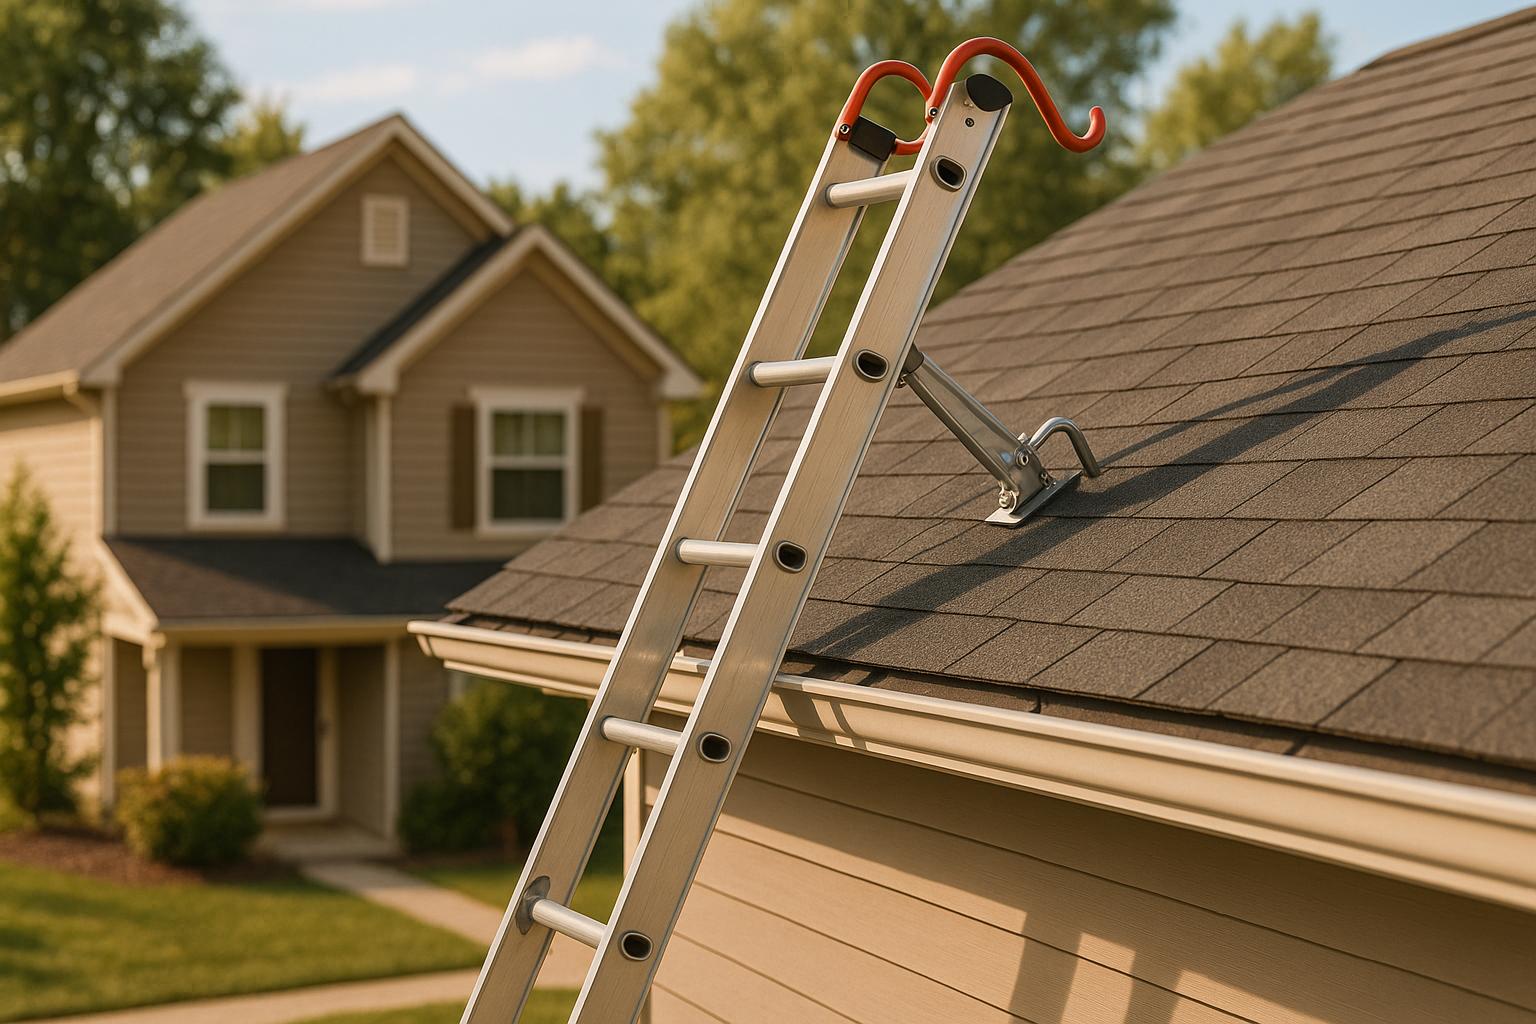
Repairing and Reusing Roof Flashing
Assessing and fixing roof flashing is crucial for maintaining your roof’s durability. Damaged flashing can lead to leaks and water damage. Here’s how to handle it.
Start by checking for signs of wear. Look for rust, cracks, or gaps in the flashing. Discoloration or water stains on walls or ceilings can also indicate a problem. Once you’ve identified potential issues, it’s time to gather your tools.
Tools and Materials Needed:
- Ladder: Safe access to the roof.
- Pry Bar: To lift shingles and remove old flashing.
- Hammer and Nails: For securing new flashing.
- Sealant: To waterproof seams and nail heads.
- Replacement Flashing: If old flashing is beyond repair.
To repair, gently lift the shingles around the damaged flashing. Remove any old sealant and nails. Check the underlying roof structure for damage. Replace any damaged flashing, ensuring it overlaps correctly and is securely nailed. For more detailed guidance on selecting the right materials and ensuring quality workmanship, homeowners can refer to our residential roofing services that emphasize the importance of material selection and expert craftsmanship.
For reusing flashing, make sure it’s in good condition. Carefully remove it without bending or breaking. Reinstall it with the same attention to proper overlap and sealing. Always seal nail heads to prevent water intrusion.
Knowing when to replace or reuse flashing helps maintain your roof’s integrity. Regular inspections can prevent costly repairs down the line. For tips on maintaining other critical components of your home, such as gutters, consider our insights on fixing incorrect gutter installations to prevent water damage.

Key Takeaways on Roofing and Flashing
Roof flashing is a cornerstone of effective roofing systems. It’s that essential barrier against water, ensuring your roof is both durable and leak-proof. Picking the right materials like galvanized steel, aluminum, or copper makes a significant difference. Each has its perks, whether it’s durability, flexibility, or aesthetic appeal. The techniques used in installing flashing are just as crucial. Proper overlap and sealing ensure water is directed away from vulnerable spots.
Routine maintenance is another key player in the longevity of your roof. Regular checks can spot potential issues early, saving you from expensive repairs. A well-maintained roof not only protects the structure but also enhances the overall integrity of your property.
Here’s what you can do to maintain your roof’s health:
- Choose Quality Materials: Opt for materials that suit your environment and design needs.
- Ensure Proper Installation: Overlap flashing correctly and seal all edges.
- Regular Inspections: Schedule inspections to catch wear and tear early.
- Address Repairs Promptly: Fix any damage as soon as noticed to prevent larger issues.
- Consider Professional Help: Sometimes a professional touch is needed for complex installations or repairs.
Understanding these aspects of roofing and flashing helps in keeping your property safe and well-maintained. Need expert advice or a free quote? Reach out to us here and let’s ensure your roof stands strong for years to come.