Filing a roof warranty claim in Los Angeles can feel overwhelming, but it’s manageable if you follow these steps:
- Understand Your Warranty: Check what’s covered – manufacturer defects, installation issues, and exclusions like storm damage or poor maintenance. Note the coverage period and required upkeep, like annual inspections.
- Gather Documents: Collect your warranty certificate, original invoice, service records, and photos of the roof (before and after damage).
- Get a Professional Assessment: Hire a licensed inspector to evaluate the damage and provide a detailed report.
- Start the Claim: Notify your warranty provider, schedule an inspection, and follow their instructions.
- Complete Repairs: Use an approved contractor, ensure repairs meet warranty terms, and document everything.
Pro Tip: Keep all records organized digitally and physically to streamline the process.
By staying proactive and organized, you can ensure a smoother claims process and protect your investment.
Owens Corning – Warranty: Claim Overview

1. Check Your Warranty Coverage
Before filing a roof claim in Los Angeles, take a close look at your warranty documents. Different warranties offer different protections, so understanding what’s covered will make the process smoother.
Common Warranty Types
Roofing projects usually come with two main types of warranties:
- Manufacturer’s Warranty: This covers issues with the roofing materials, such as defects or premature wear. Coverage can last for decades, depending on the product and its specifications.
- Contractor’s Warranty: This applies to the quality of the installation. It addresses problems caused by mistakes made during the installation process and typically lasts for several years.
What Your Warranty Covers
Knowing the specifics of your warranty can make or break your claim. Here’s what to focus on when reviewing your documents:
| Coverage Element | What to Look For |
|---|---|
| Duration | Exact start and end dates of your coverage |
| Material Defects | Issues like manufacturing flaws, early wear, or material deterioration |
| Installation Issues | Problems such as improper fastening, faulty flashing, or poorly sealed seams |
| Maintenance Requirements | Annual inspections or other upkeep needed to maintain coverage |
| Exclusions | Situations not covered, like storm damage, poor maintenance, or unauthorized repairs |
Keep up with any maintenance requirements, such as annual inspections, to ensure your warranty remains valid. Save all records of inspections, repairs, and maintenance to strengthen your case if you need to file a claim.
Once you’ve reviewed your warranty, gather the necessary documents to move forward with your claim.
2. Collect Required Documents
Once your warranty is verified, gather the necessary documents to back up your claim.
Purchase and Warranty Papers
Make sure you have these important documents:
| Document Type | Key Information Included |
|---|---|
| Original Invoice | Purchase date, total cost, and contractor details |
| Warranty Certificate | Warranty number, coverage period, and terms |
Check with your warranty provider to see if they require anything else. It’s a good idea to store digital copies in cloud storage and keep the physical ones in a safe, waterproof location. Along with these, maintain a record of your roof’s service history.
Service Records and Photos
Keep detailed records of all roof maintenance and inspections. Include:
- Maintenance Records: Logs of all professional inspections and any maintenance work performed.
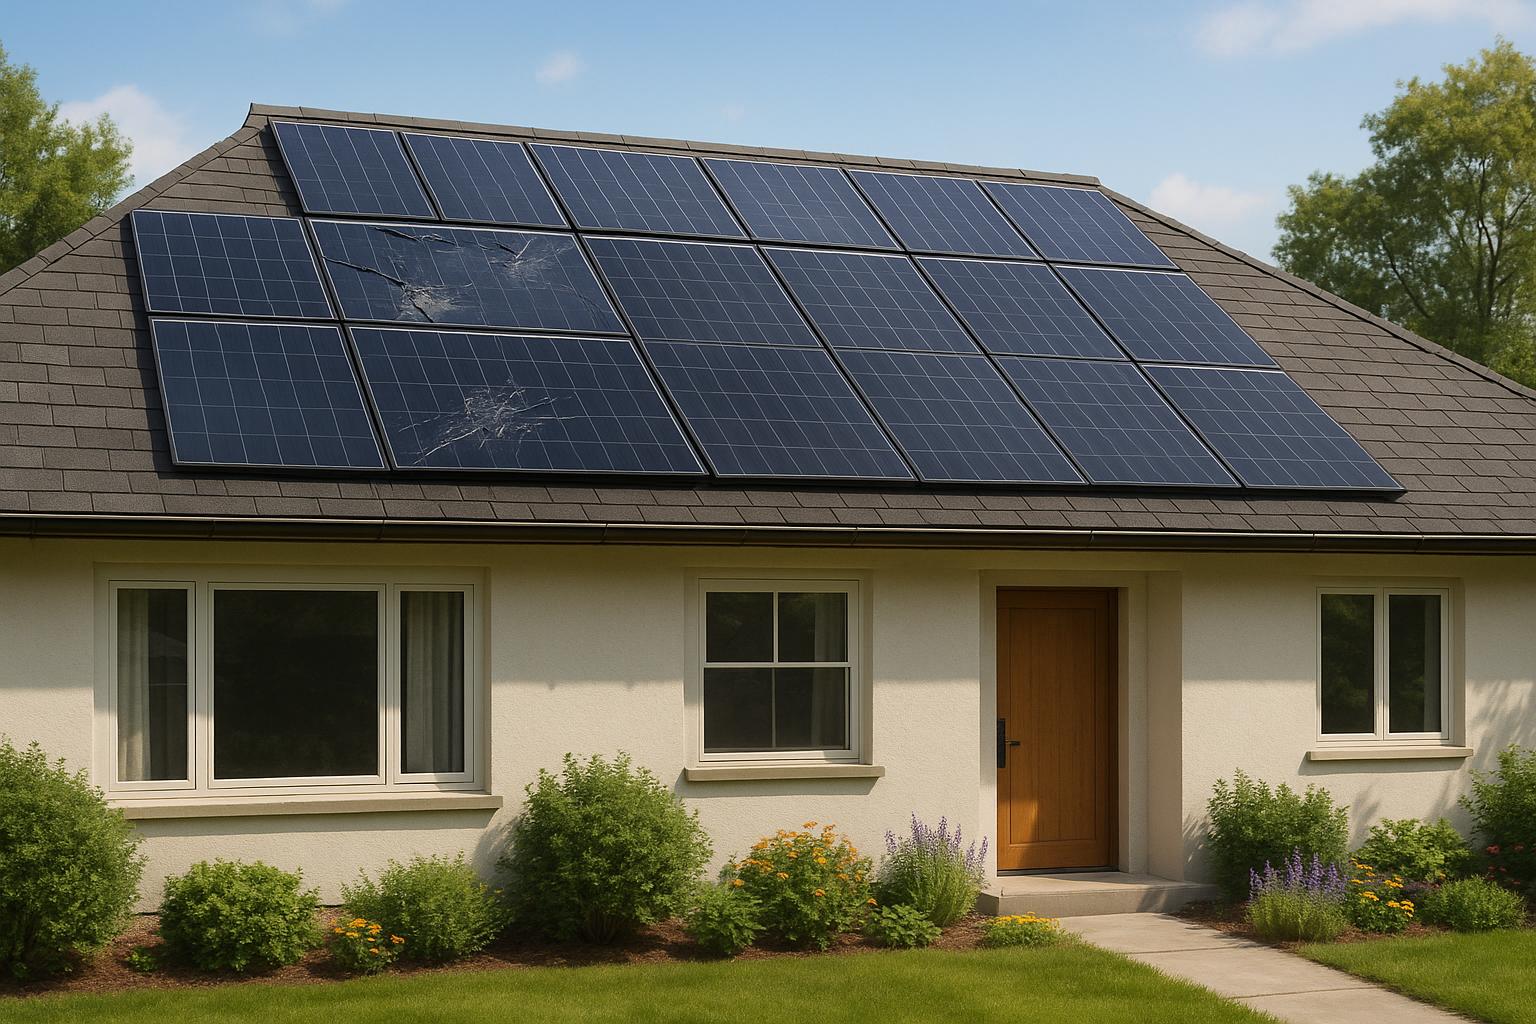
- Before and After Photos: Take clear, dated photos that show:
- The overall condition of the roof
- Close-up images of any damage or defects
- Different angles of the affected areas
- Time-stamped images, if possible
For better clarity, include an object for scale in your photos.
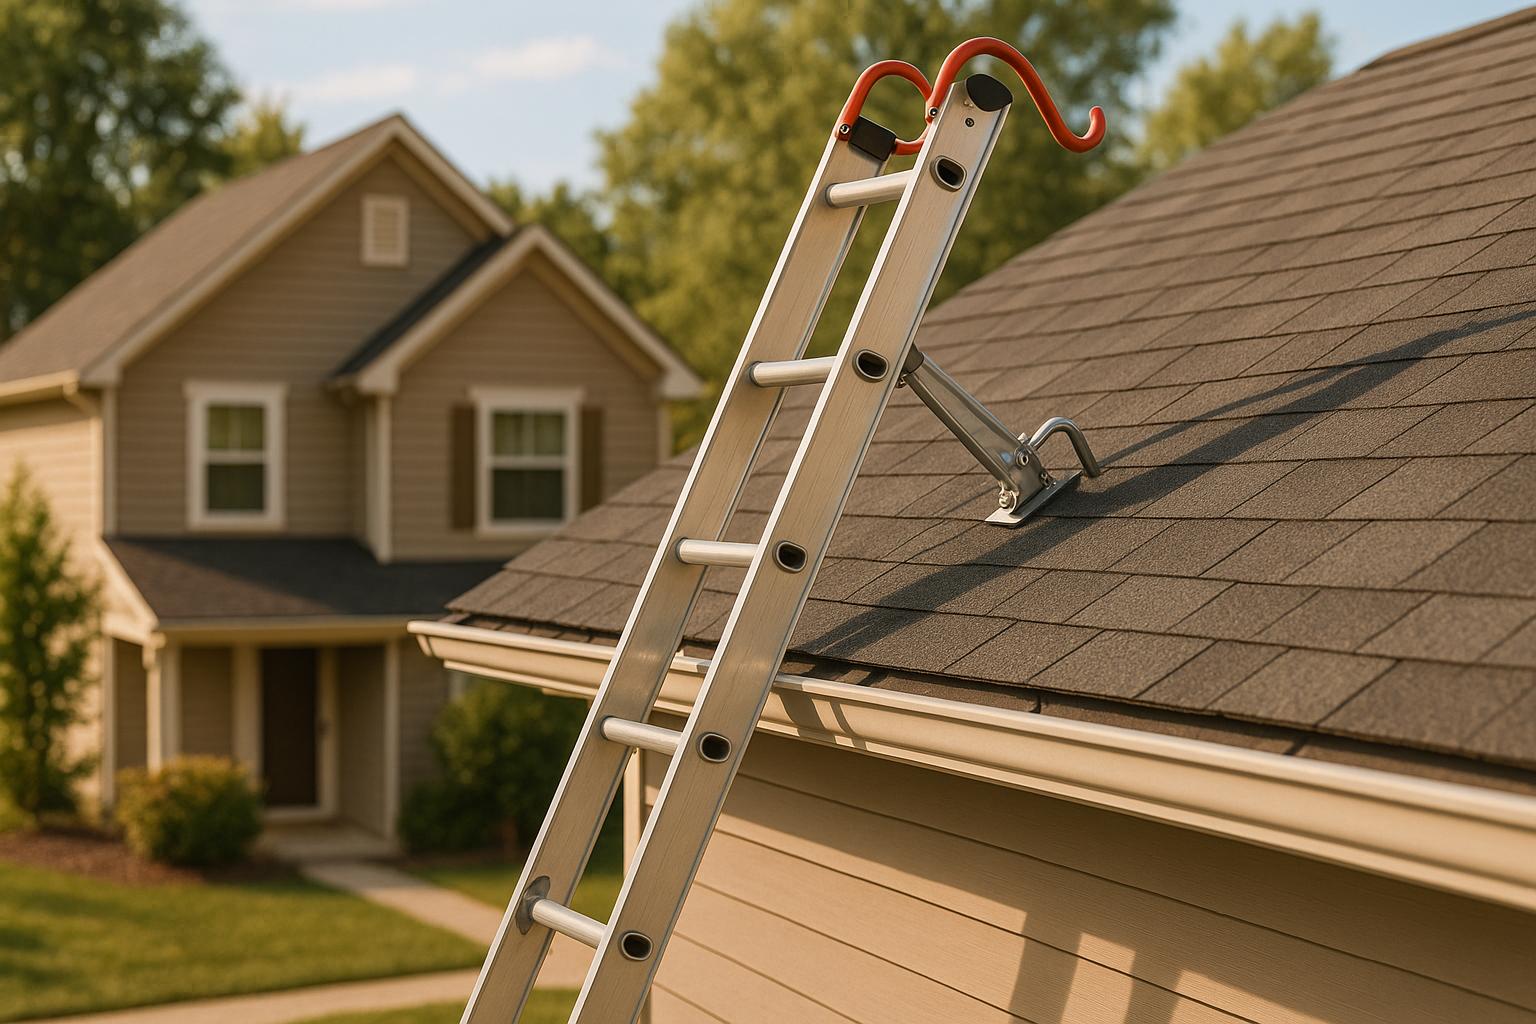
Professional Assessment
Get a report from a licensed inspector that includes:
- The current condition of your roof and any identified issues
- An analysis of what caused the problem
- A cost estimate for repairs
- Specific repair recommendations
- The contractor’s license number
If you’re in Los Angeles, make sure the inspector is licensed by the Contractors State License Board (CSLB). This ensures their report will be valid for your warranty claim.
sbb-itb-d1d6490
3. Start Your Claim
Once you’ve collected all the required documents, it’s time to initiate your warranty claim by reaching out to your roofing warranty provider.
Notify Your Provider
Get in touch with your warranty provider as soon as possible. You can usually do this by phone or through their website’s contact form. Make sure you have your warranty certificate and property details handy when you contact them. After notifying them, arrange for an inspection to assess the damage.
Book an Inspection
After starting your claim, schedule a roof inspection to determine the extent of the damage and confirm whether it falls under your coverage. Be sure to follow the provider’s specific instructions for scheduling the inspection.
4. Complete Your Claim
Once your claim is approved, it’s time to move forward with the repair process. Here’s what to do next:
-
Choose an Approved Contractor
Pick a contractor from your warranty provider’s approved list. This ensures the repairs meet your warranty’s requirements. -
Set Up the Repairs
Coordinate with your chosen contractor to schedule the repairs. Make sure the work aligns with warranty conditions and complies with LA building codes. -
Keep Records of the Repairs
Document everything: repair dates, tasks completed, and materials used. These records might come in handy for future reference.
LA Property Owner Guidelines
Legal Time Limits
Check your warranty documents for deadlines to file claims. Note the date you first notice any issues, as many legal time limits begin from that point. Keep your documents well-organized to back up your claim.
Document Storage Tips
Keep your roofing records organized with these methods:
-
Digital Storage System
Set up a cloud folder with subfolders for:- Warranty documents
- Installation photos and permits
- Maintenance and inspection records
- Repair estimates and invoices
-
Physical Documentation
Store hard copies in a waterproof, fireproof container. Arrange them by:- Date
- Document type
- Project phase
-
Maintenance Log
Use a spreadsheet or detailed log to track:- Inspection dates
- Completed maintenance
- Contractor details
- Service costs
Pro Tip: Take photos of all physical documents and save them digitally. Use clear file names that include dates and document types, like 2025-04-05_RoofWarranty_Initial.pdf.
Summary
The steps outlined above help you navigate the roof warranty claim process in Los Angeles. Success requires careful documentation and following the proper procedures. Here’s how to make the process as smooth as possible:
- Keep Records: Maintain organized copies of purchase documents, maintenance logs, and inspection reports. Store both digital and physical versions to back up your claim.
- Act Quickly: Notify your warranty provider as soon as you notice a problem. Schedule inspections and submit all necessary paperwork within the required timeframes.
- Follow Local Rules: Ensure all repairs and documentation comply with Los Angeles building codes and deadlines. Work with licensed contractors who understand local regulations.
- Stay Organized: Track every step of your claim, save copies of all communications, and document any new issues that come up during the process.